Ever since I have founded Fotosynthesis, the first experimental printing process I wanted to try and master was chlorophyll printing or the photosynthesis process (The chlorophyll process is an organic alternative photography process akin to the anthotype process). I have tried a couple of time but with no luck: i was simply leaving a black and white negative on top of a leaf being exposed exposed by UV light, randomly. Until Spanish London based artists Almudema Romero appeared in my life again! She has been researching and experimenting scientifically the plants, chemistry and created outstanding leaf prints. After watching her video, attending some talks at Raw Labs where she was doing an art residency and joining an online introduction to chlorophyl printing, I could not resist and jumped in! It was destiny as London was experiencing the hottest heat wave in history so I could not hope for a better weather.
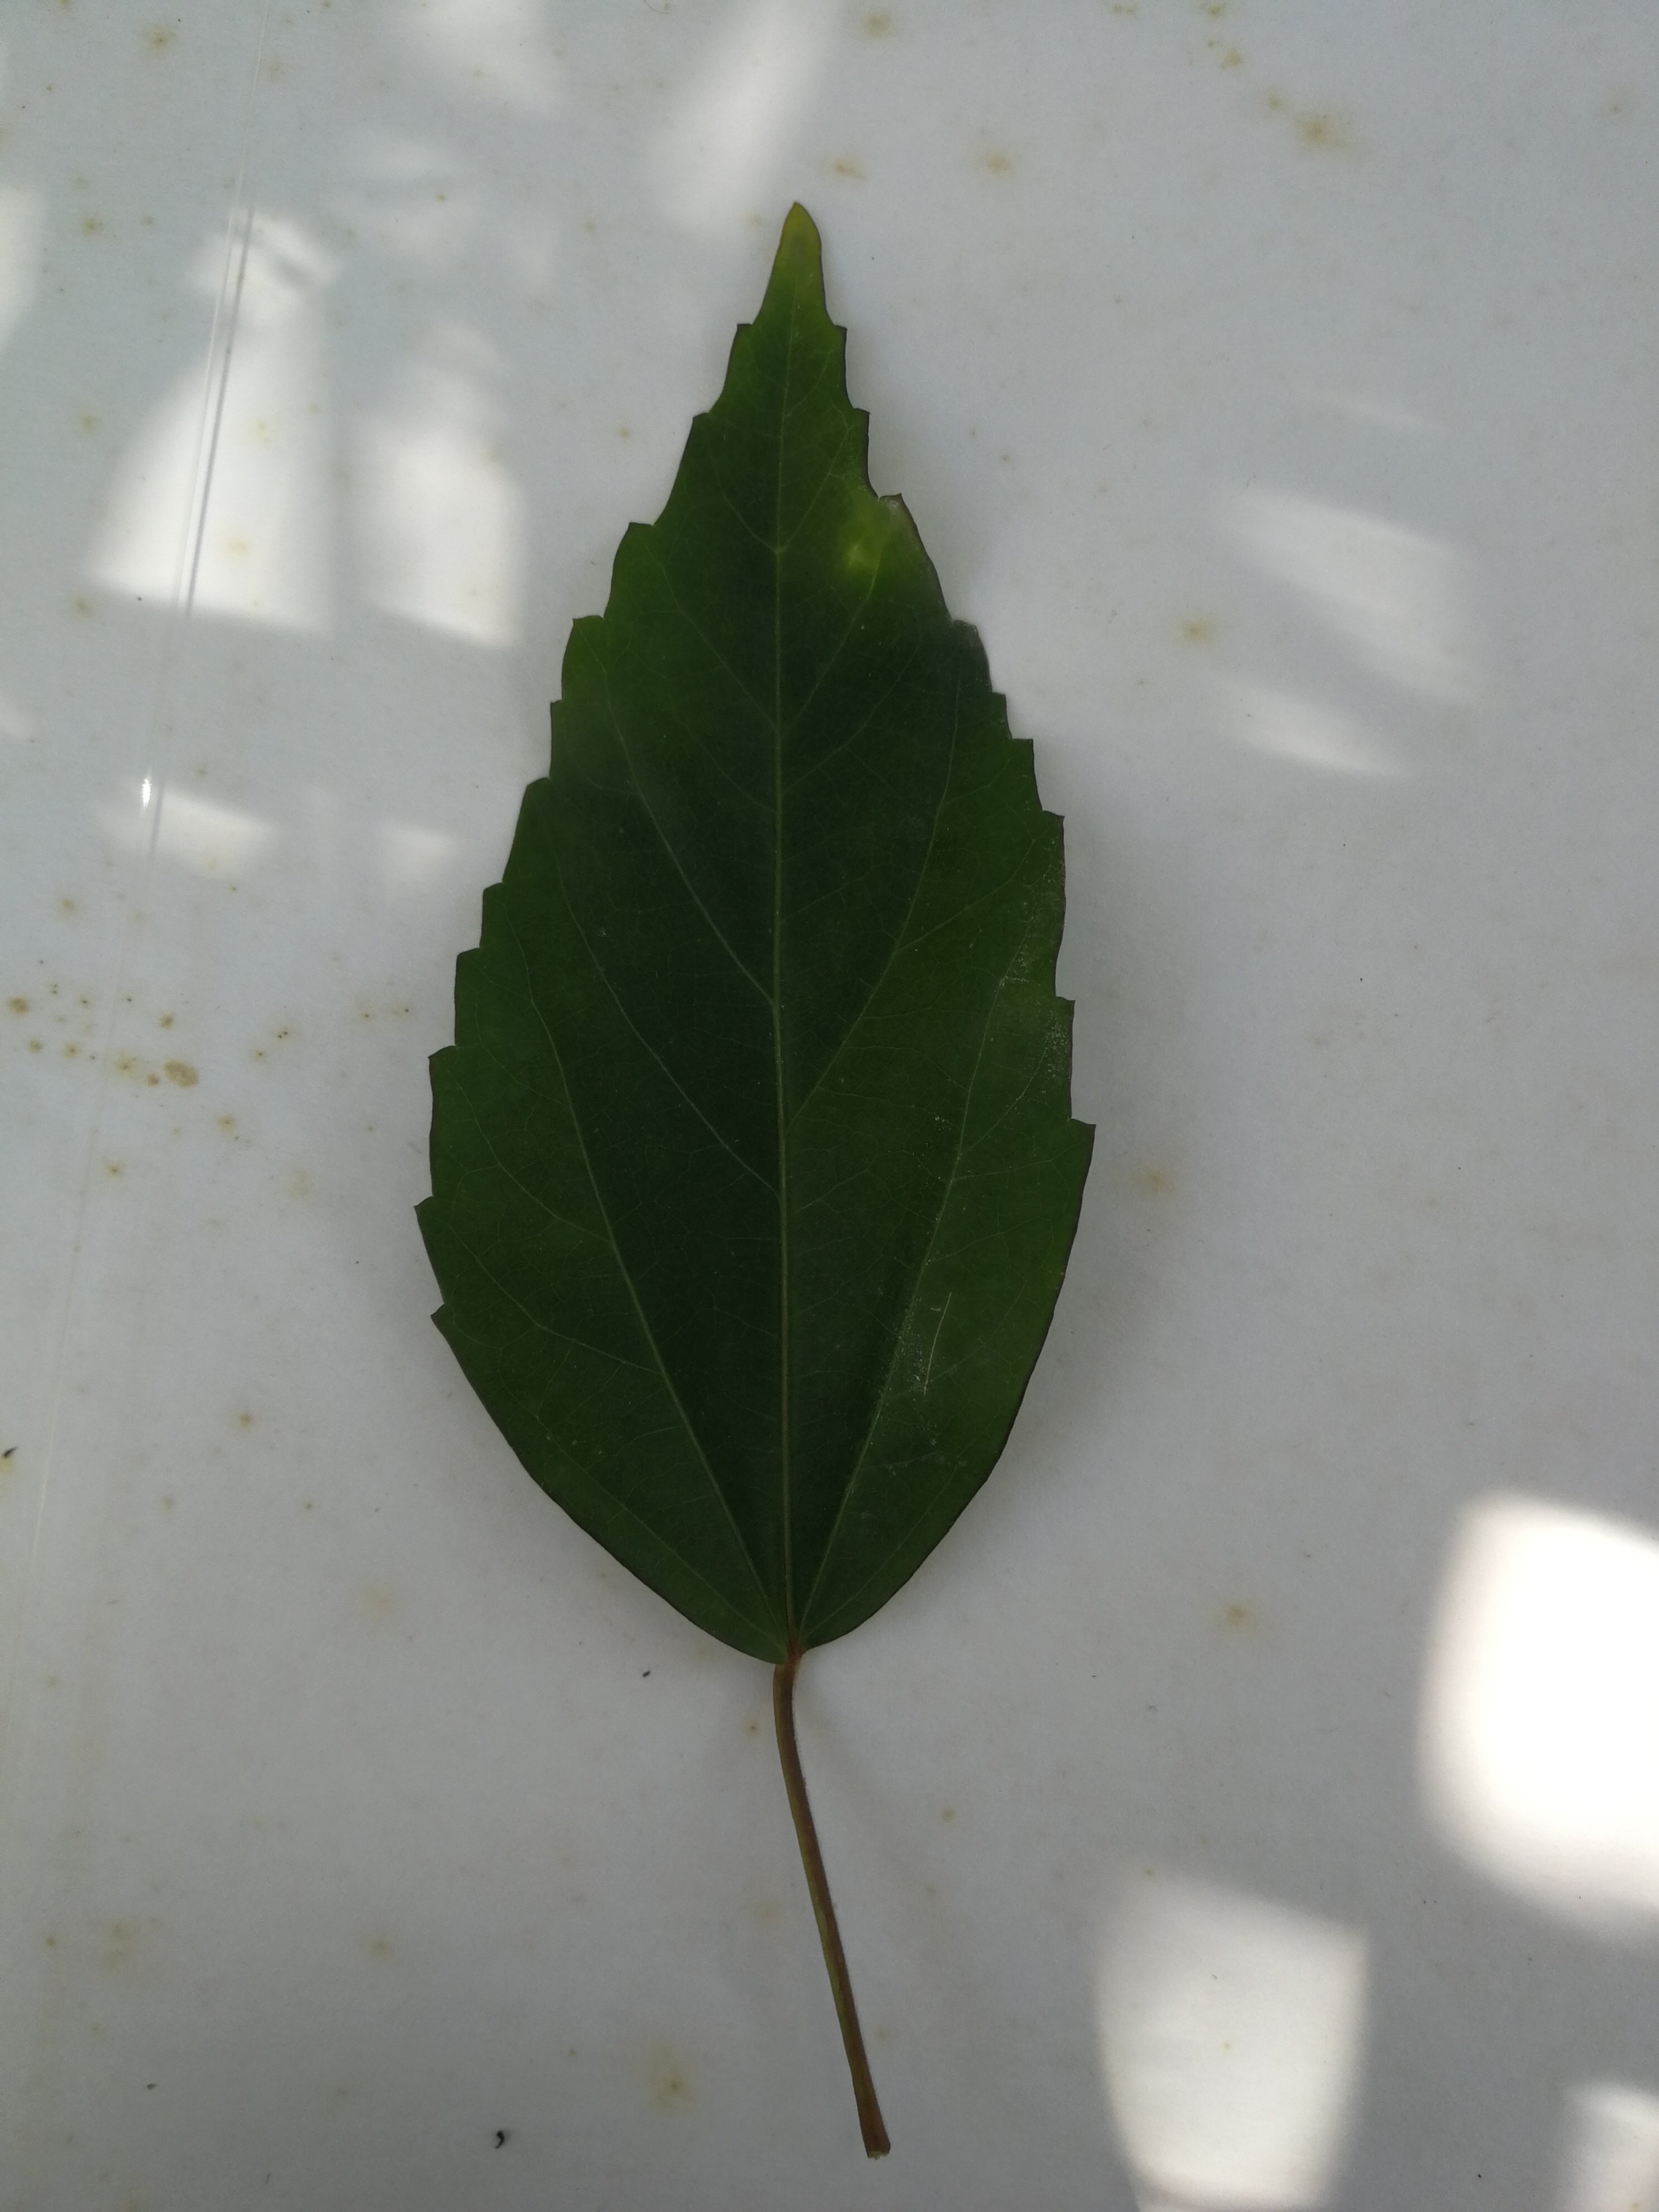
First, I struggled to find the hosta plant that she recommended, I found one small plant with small leaves only and had to carefully choose which image to print to test.
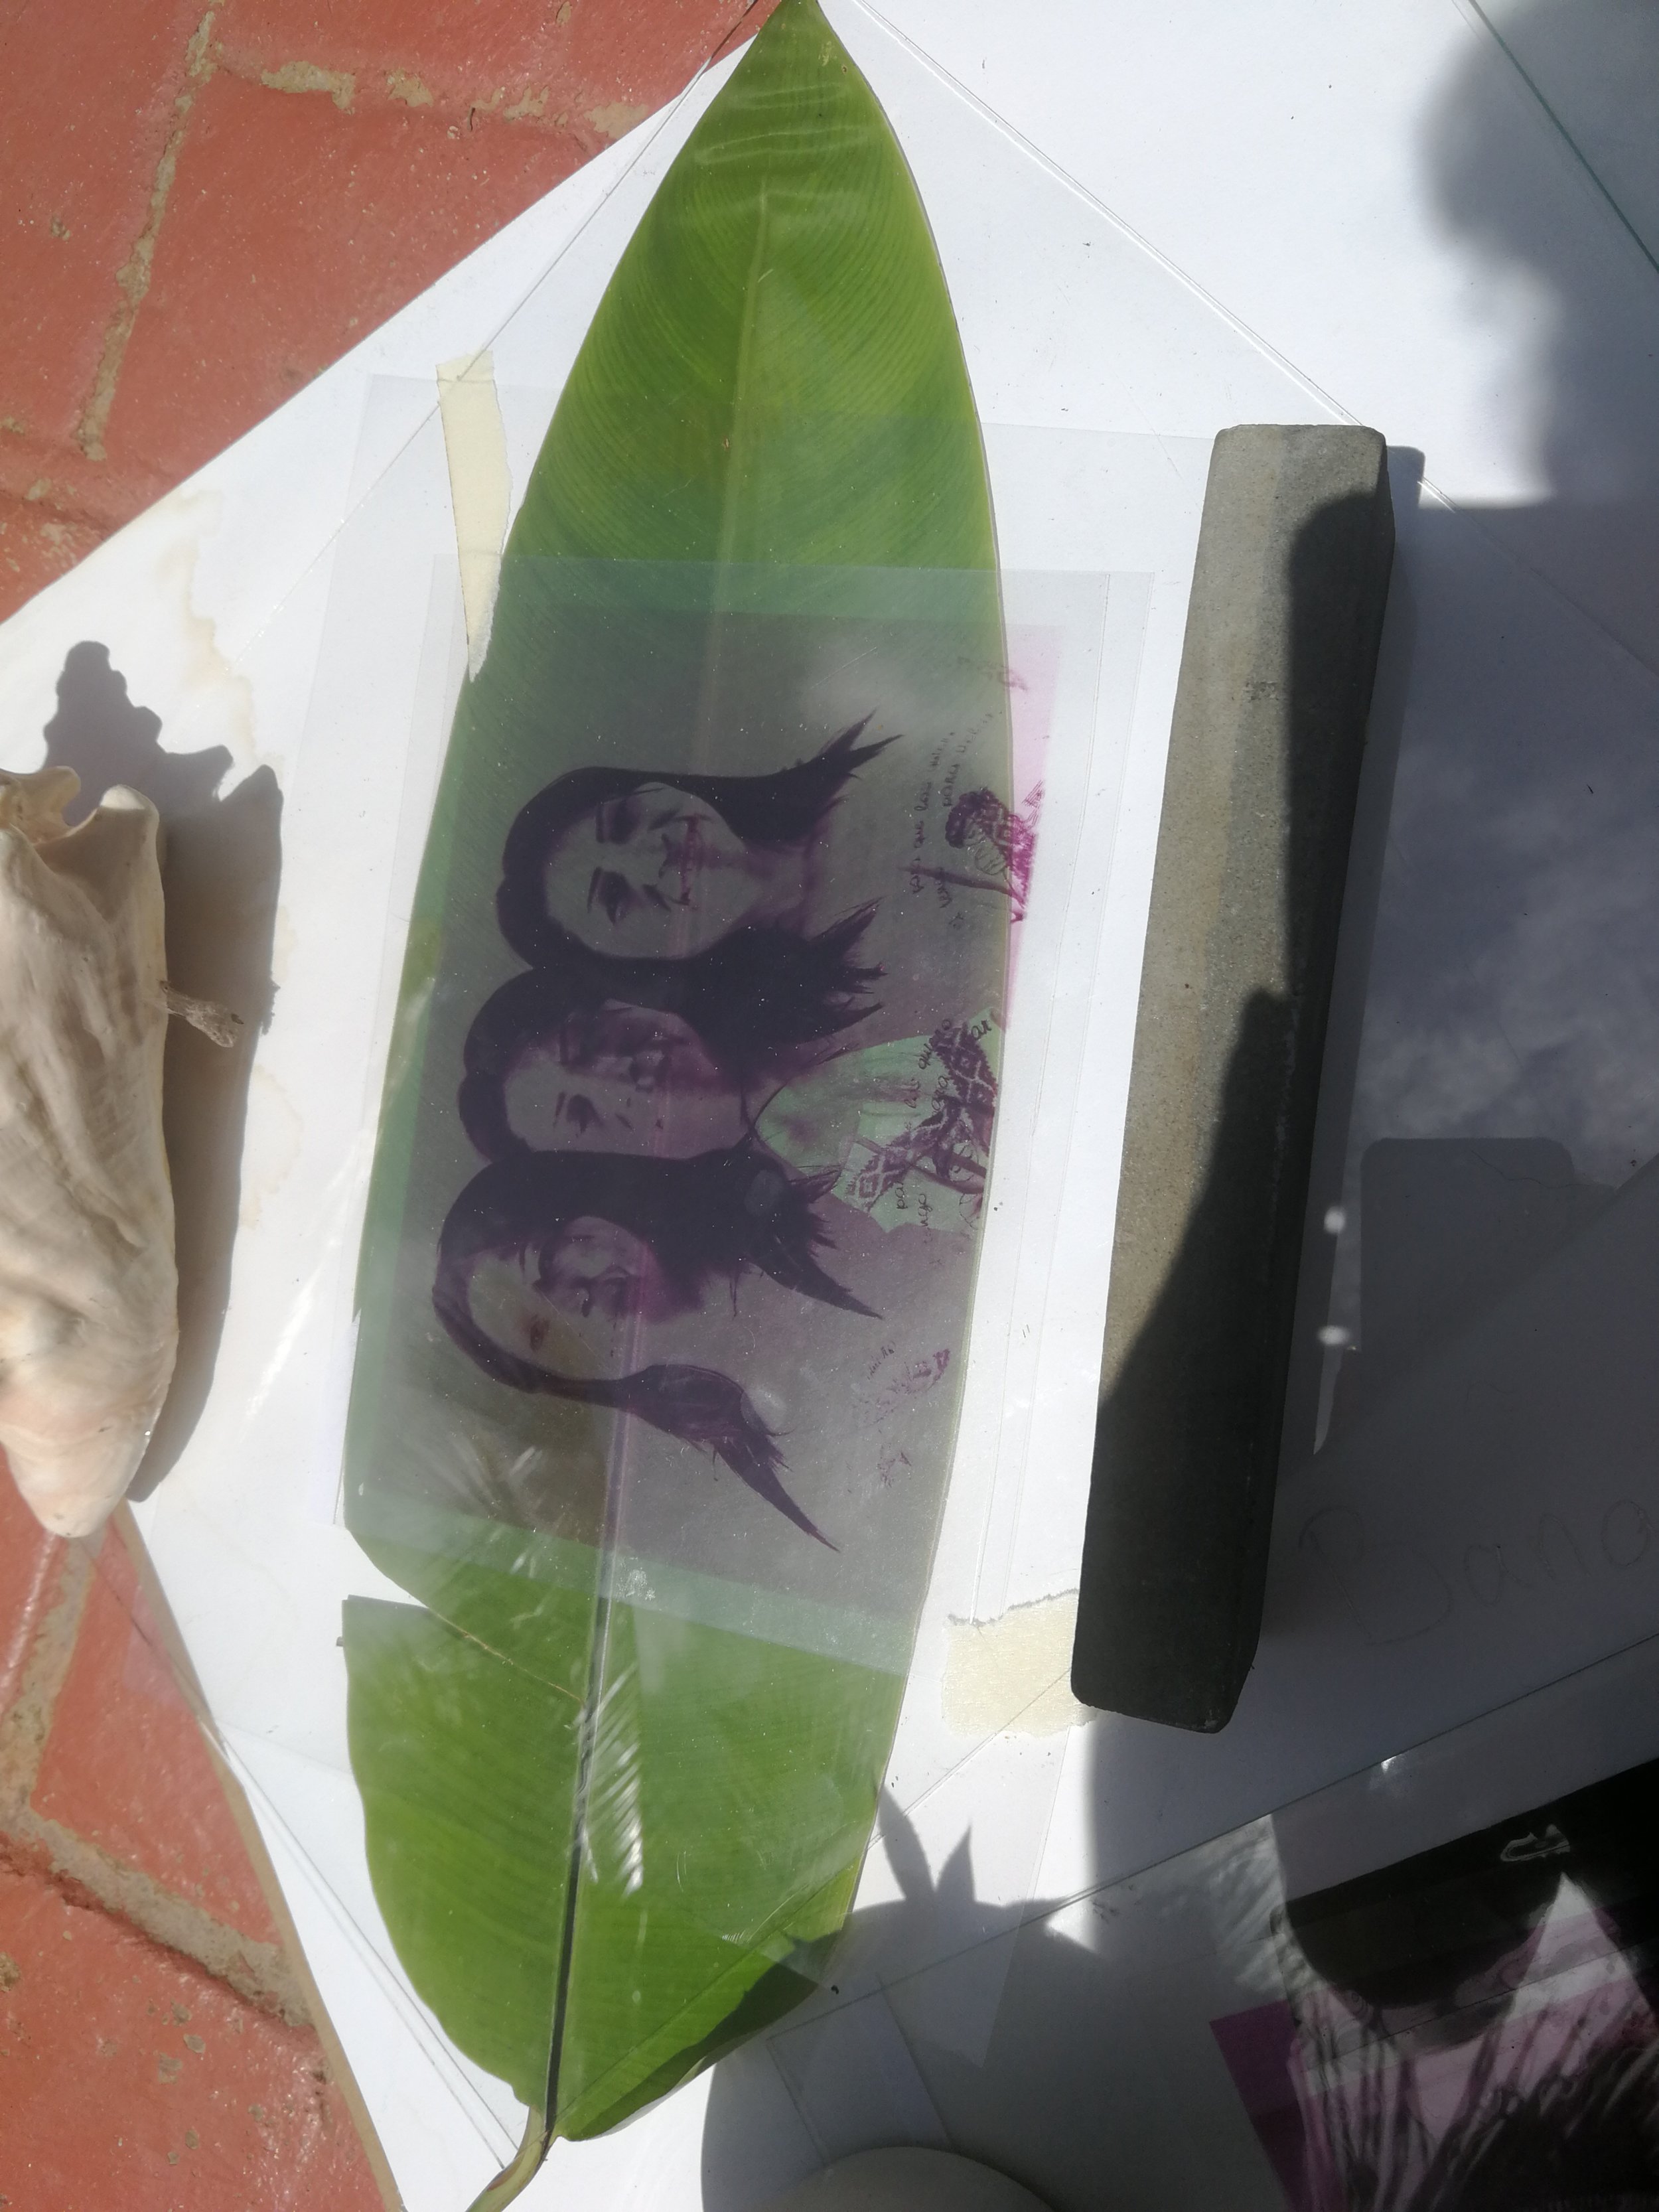
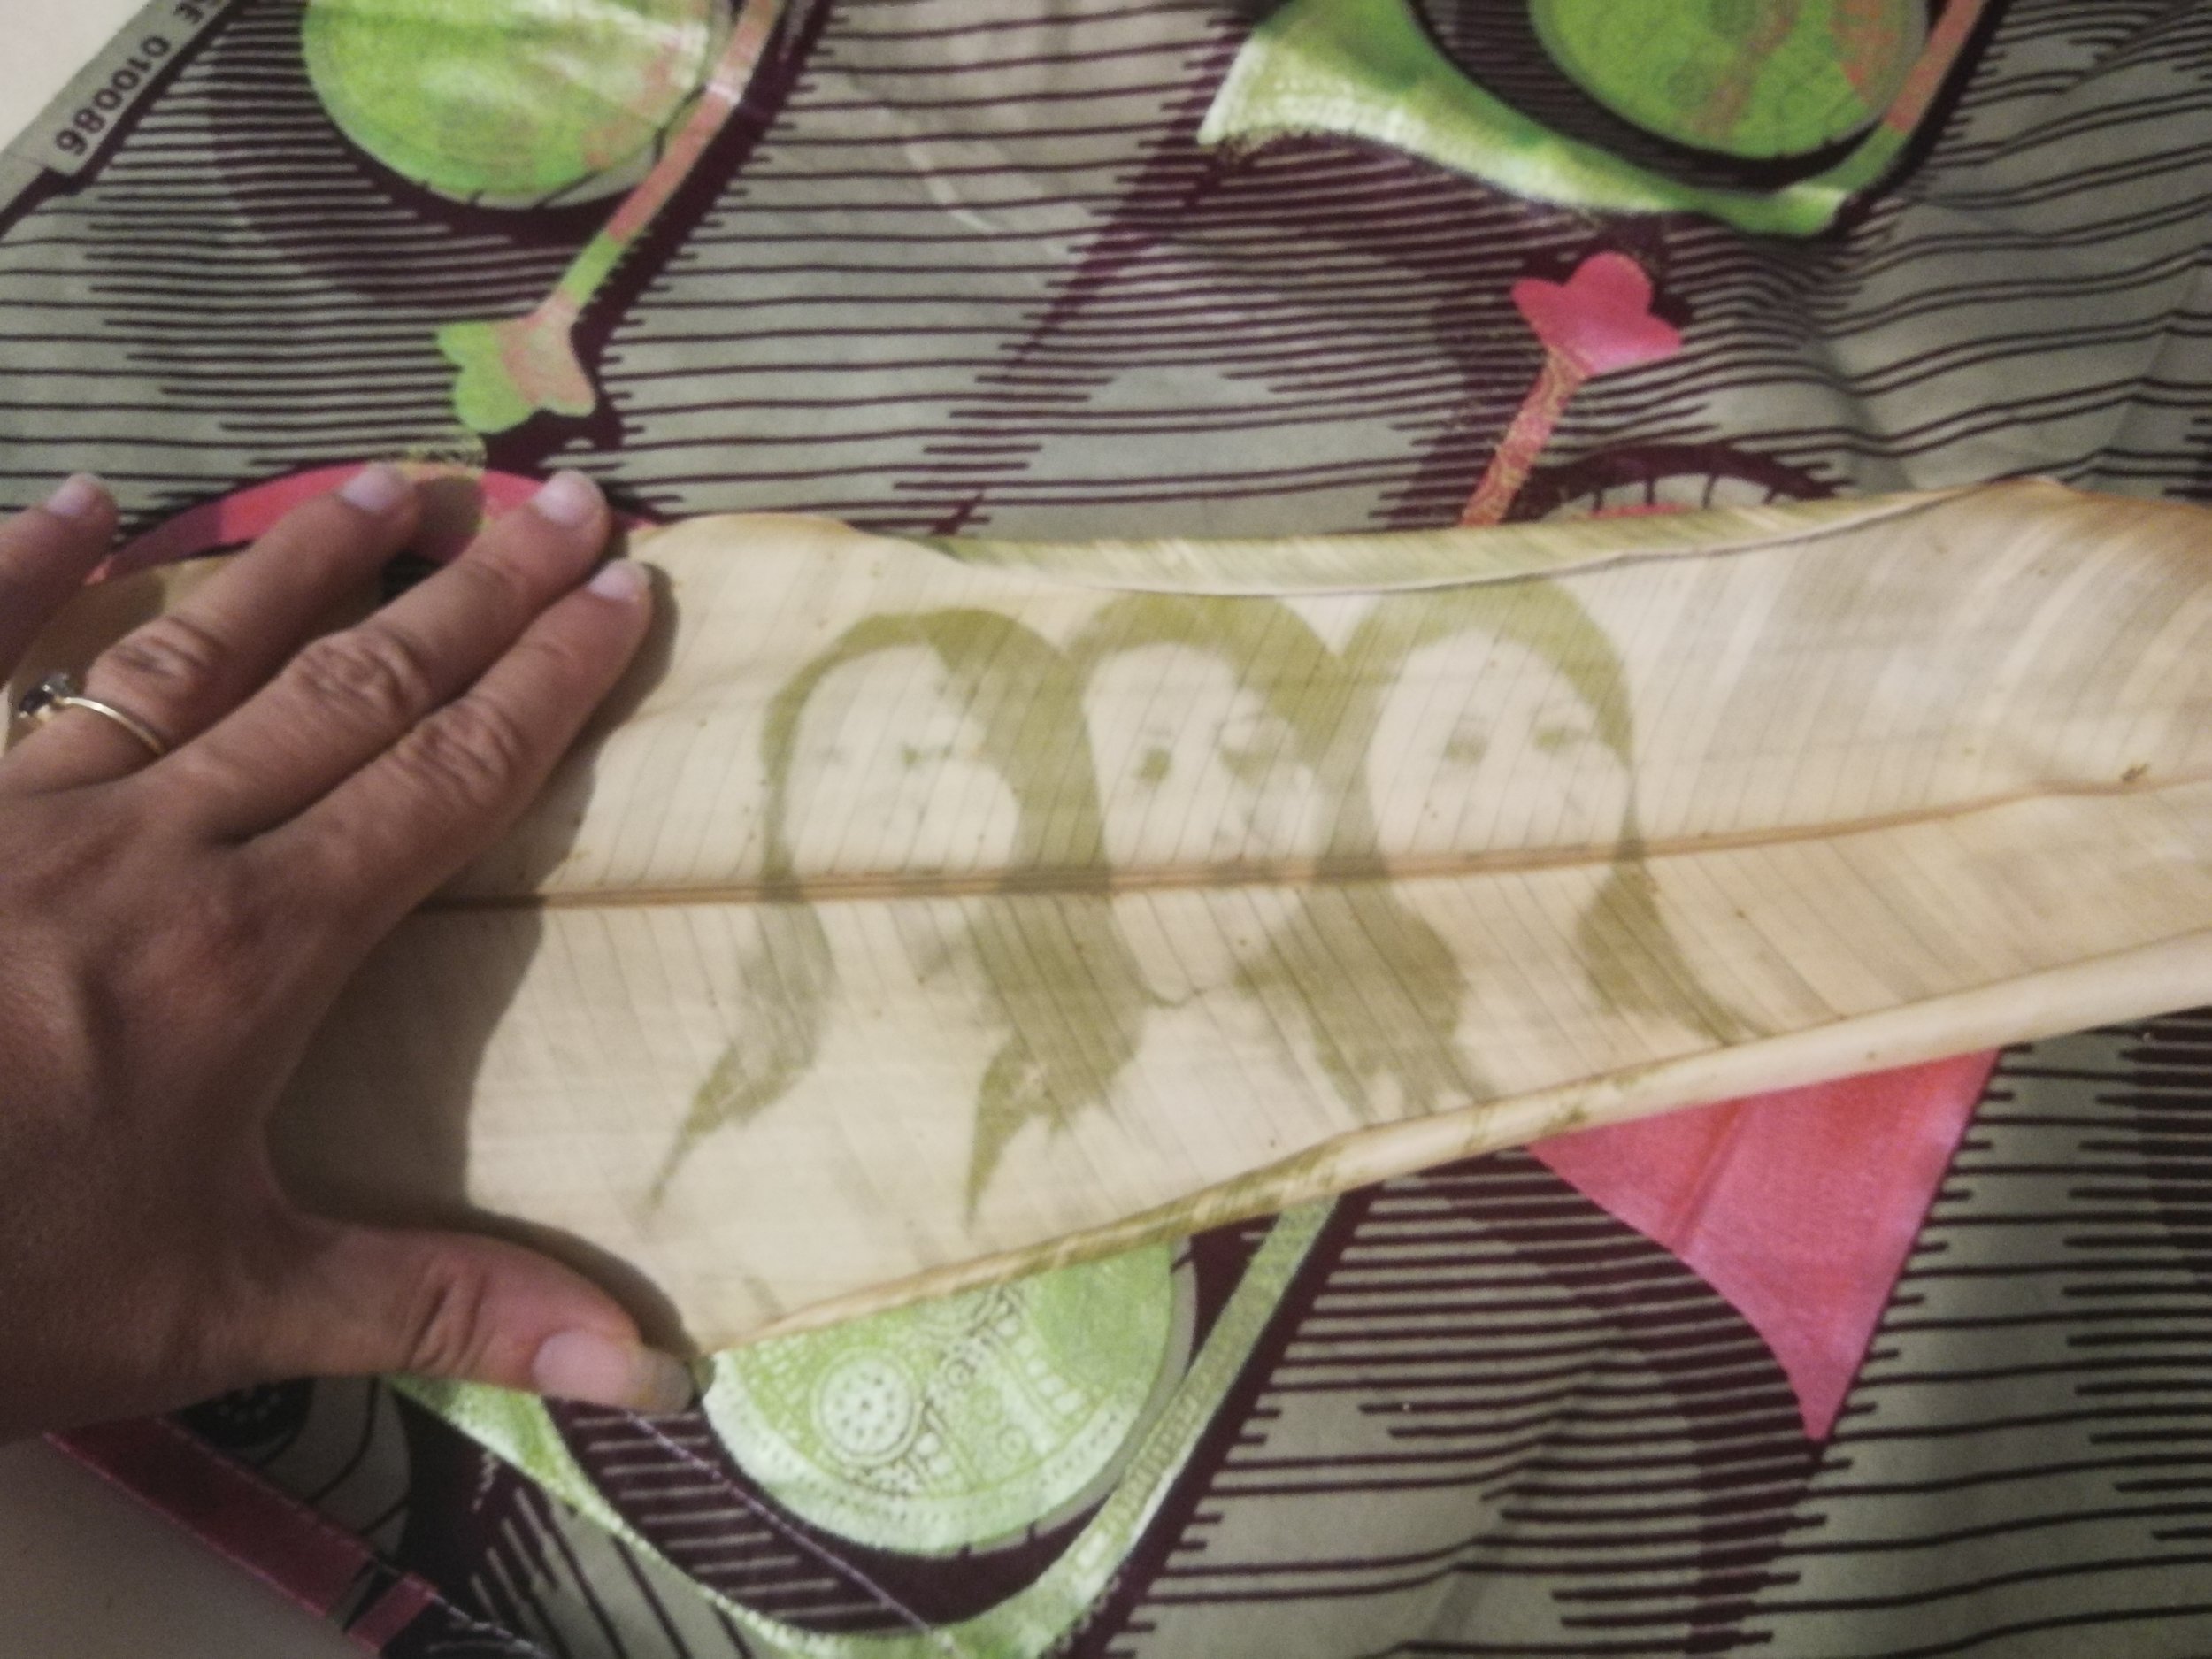
As I was working a an archive project of my grand father’s picture and preparing an exhibition in Belfast around Colombian peace process, I decided to focus on those images. And for a first test, It went really well!


Started at 10 am until about 2ish under really strong sun and heat. July 2018, London
Of course, many did not work but I took this success of this picture as a sign and focused on making more prints as she is a very special person to me. Many did not work because of the type of image (positive image and not a negative), the contrasts, the leaf….but also depending on much dedication and attention I was giving to the printing process. The first day, I was 100% concentrated on the printing and it worked, on the 2nd, I thought I had it under control and was in a rush and messed it all up: acetate image wrong way up, lots of clouds and humidity, I let them dry up before having time to wash and fix properly…and so on. Then, the heat wave vanished and so were my experiment in the UK
Caribbean wonders
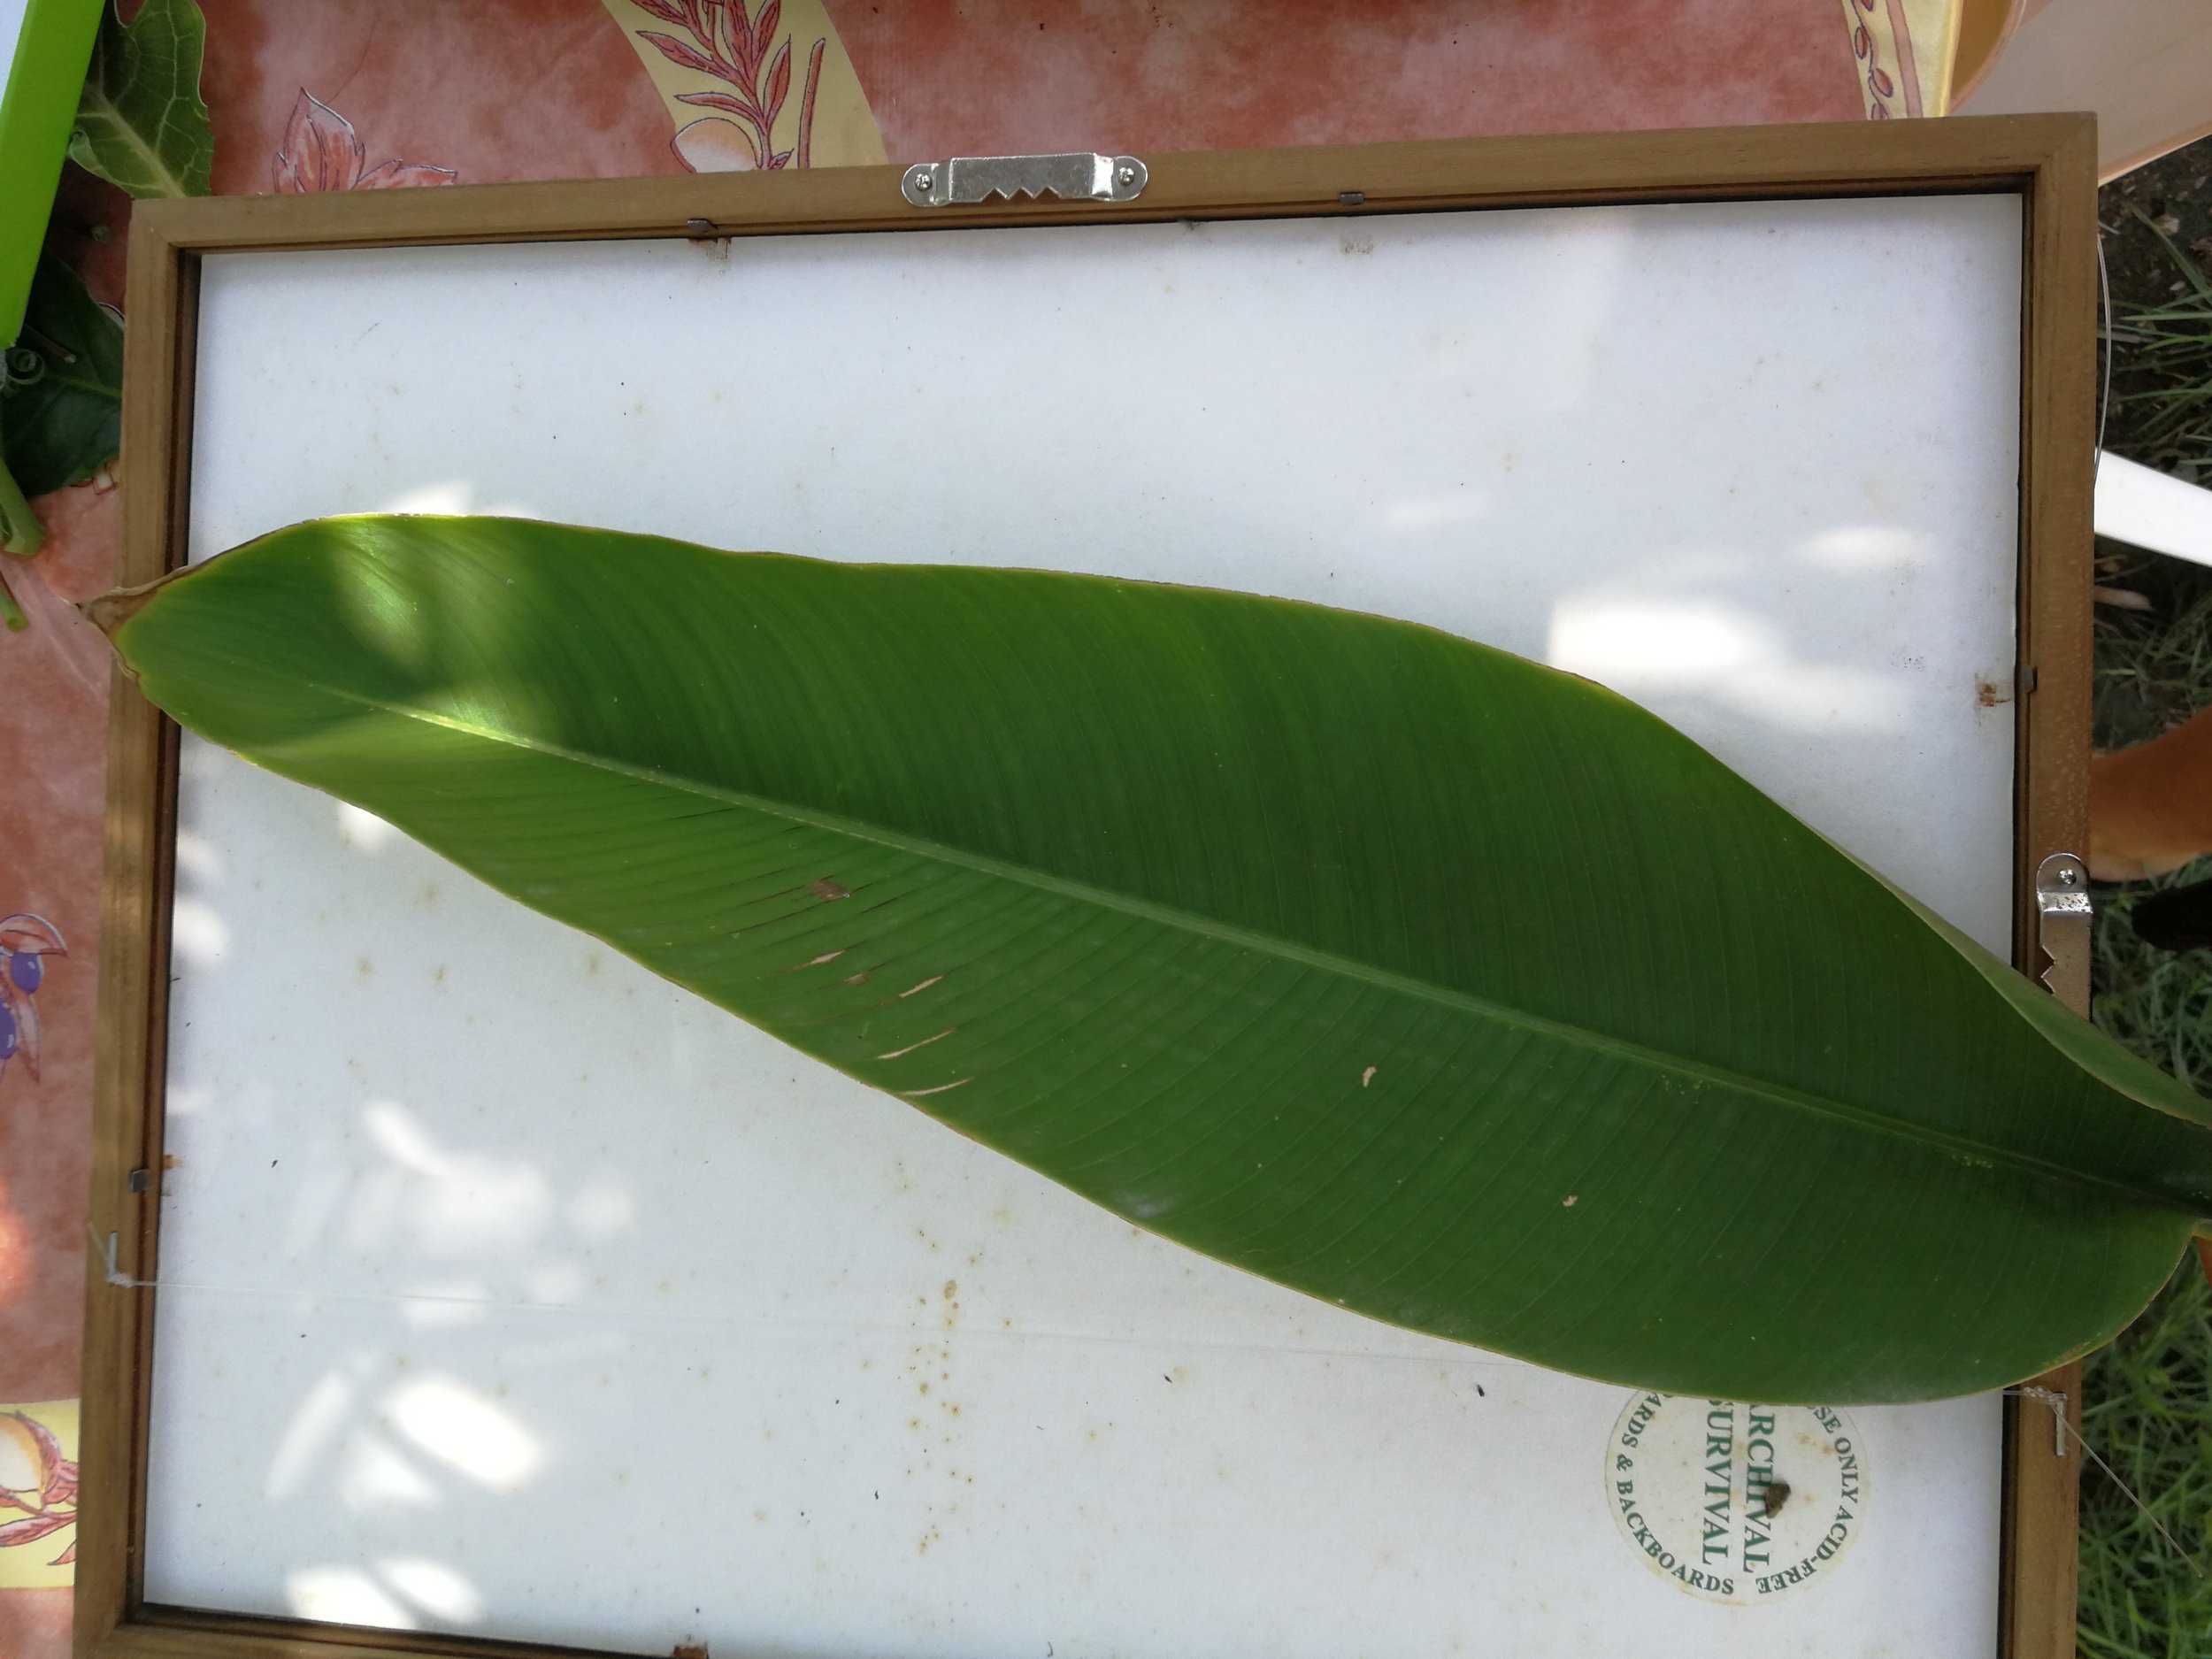
As if the earth had listened to my call for more experiments was heard, I found a really cheap flight to the Dominican Republic where my sister lives, and guess what? She has a huge garden full of tropical plants and flowers, all the ones I wanted to try as recommended by Almudema but also new ones. (Colocasia, banana).
I transformed my sister’s house, garden and roof terrace in a printing factory!
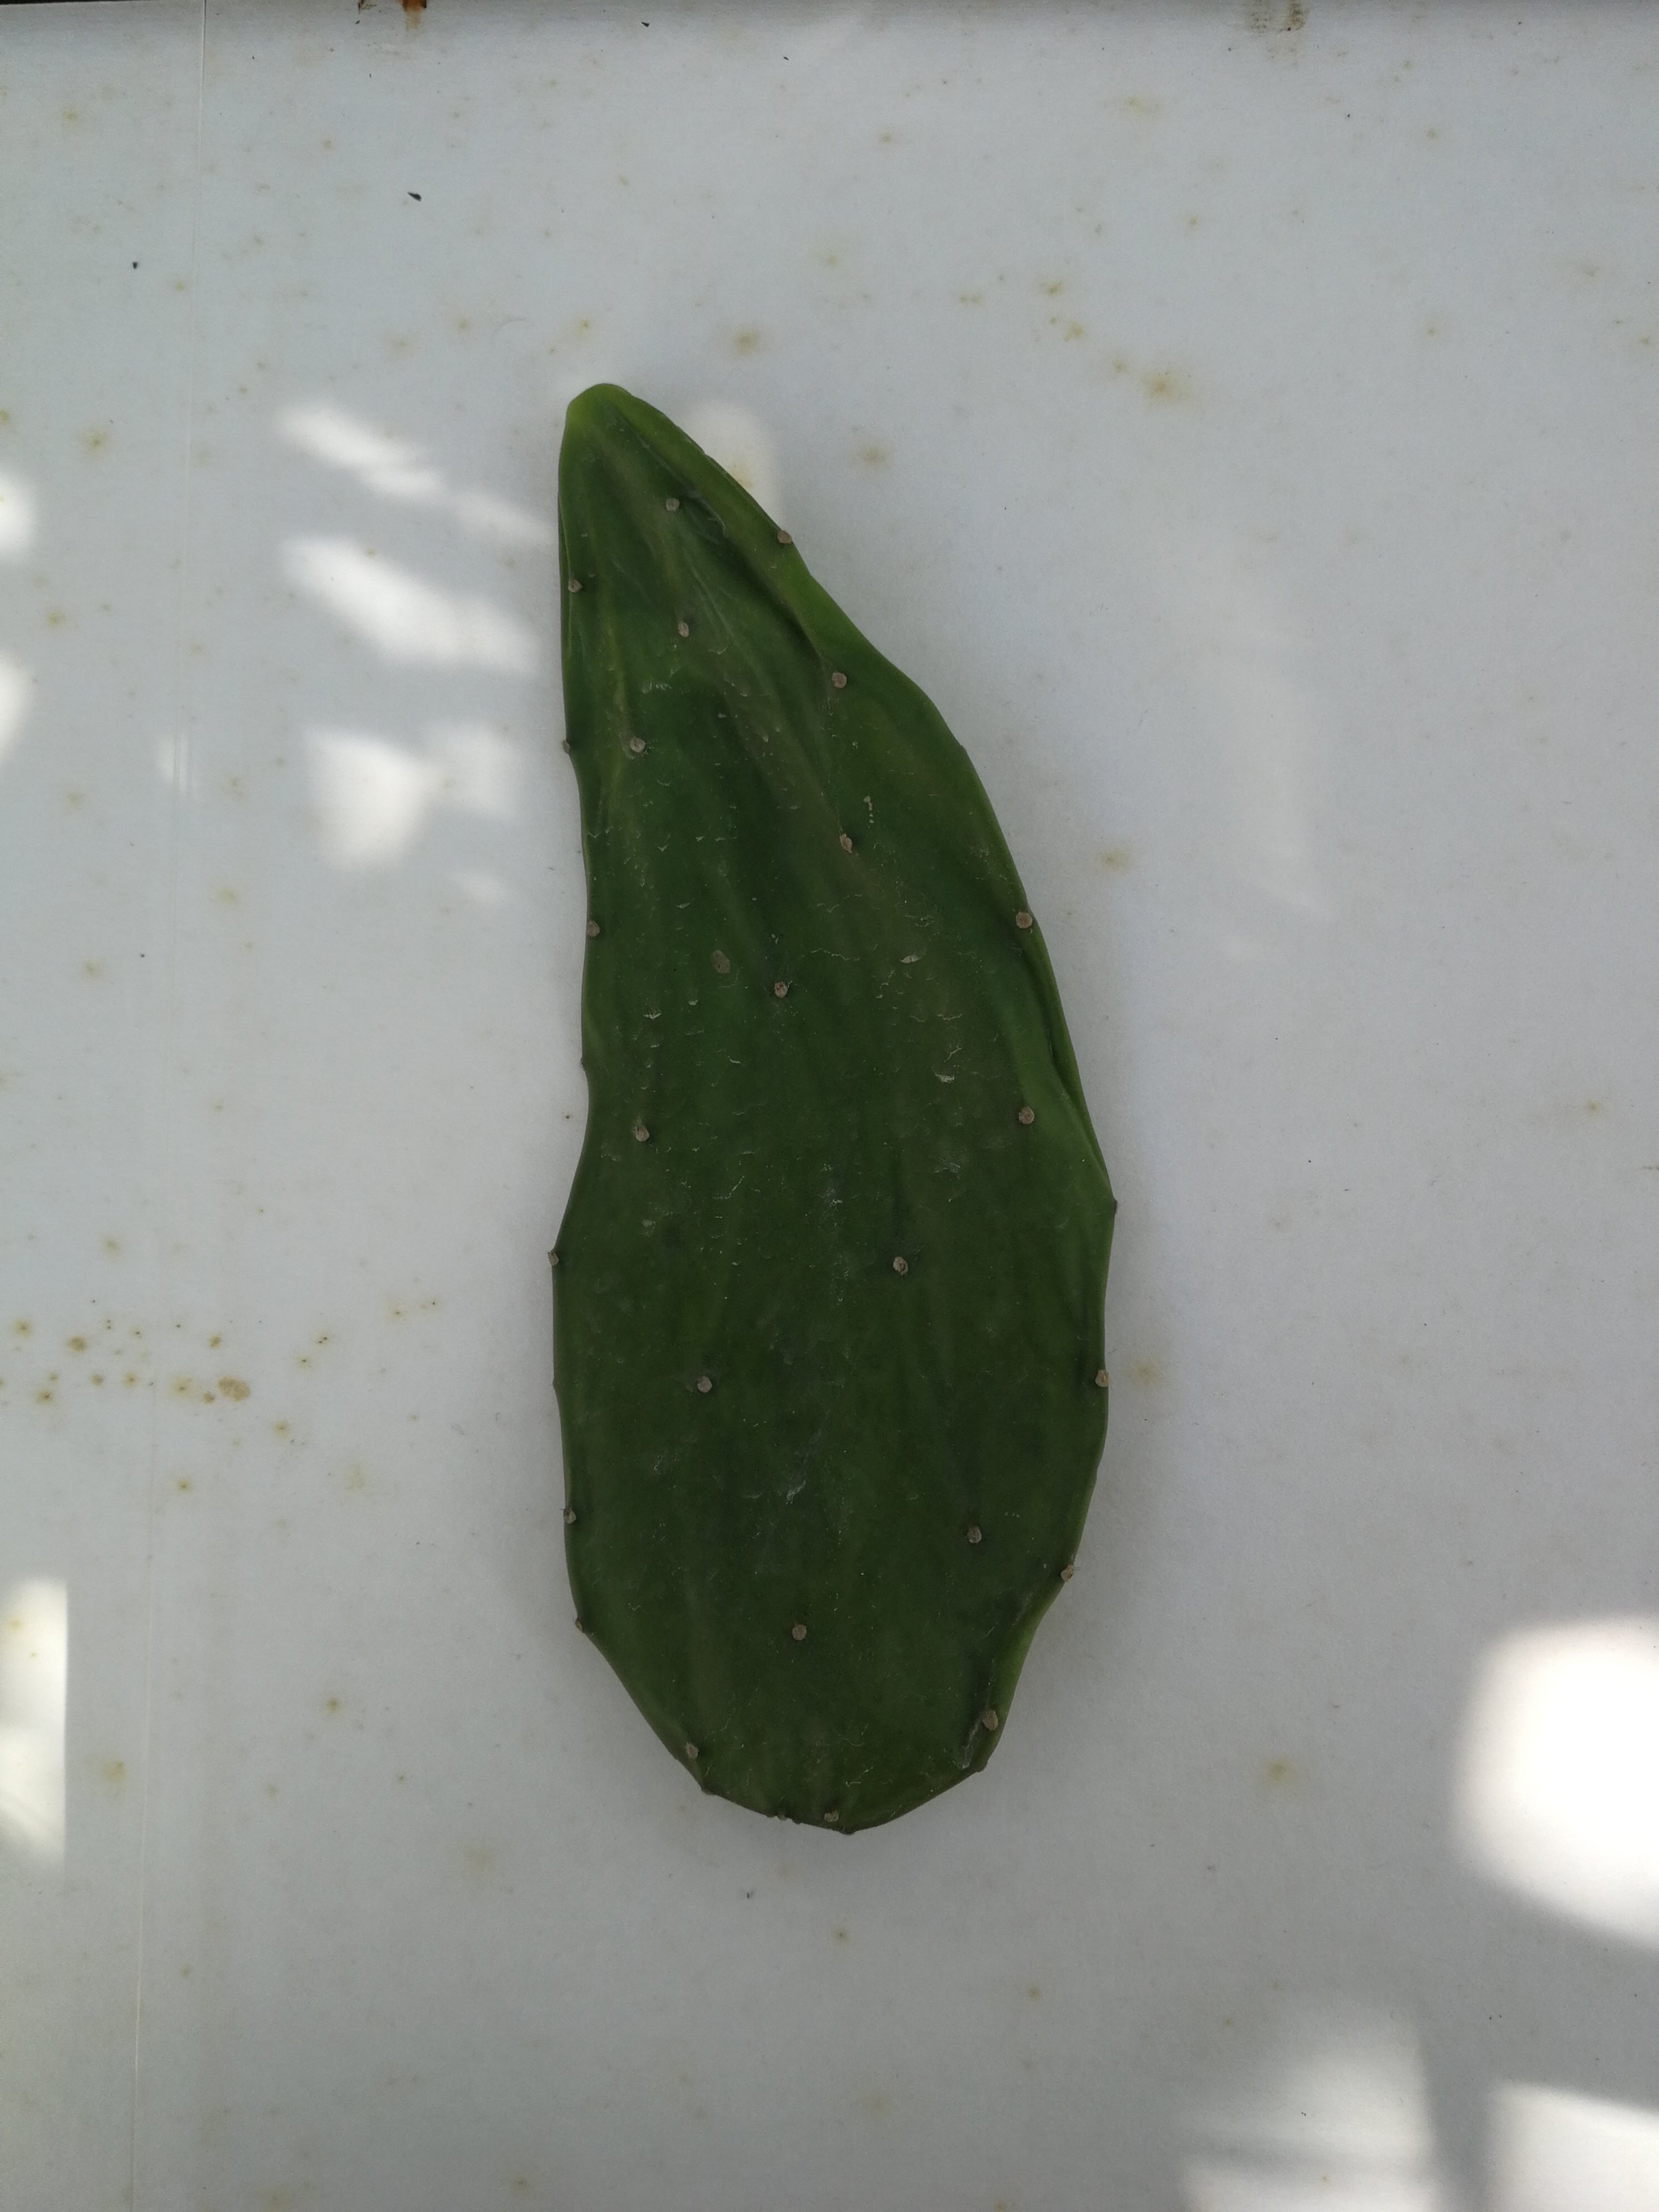
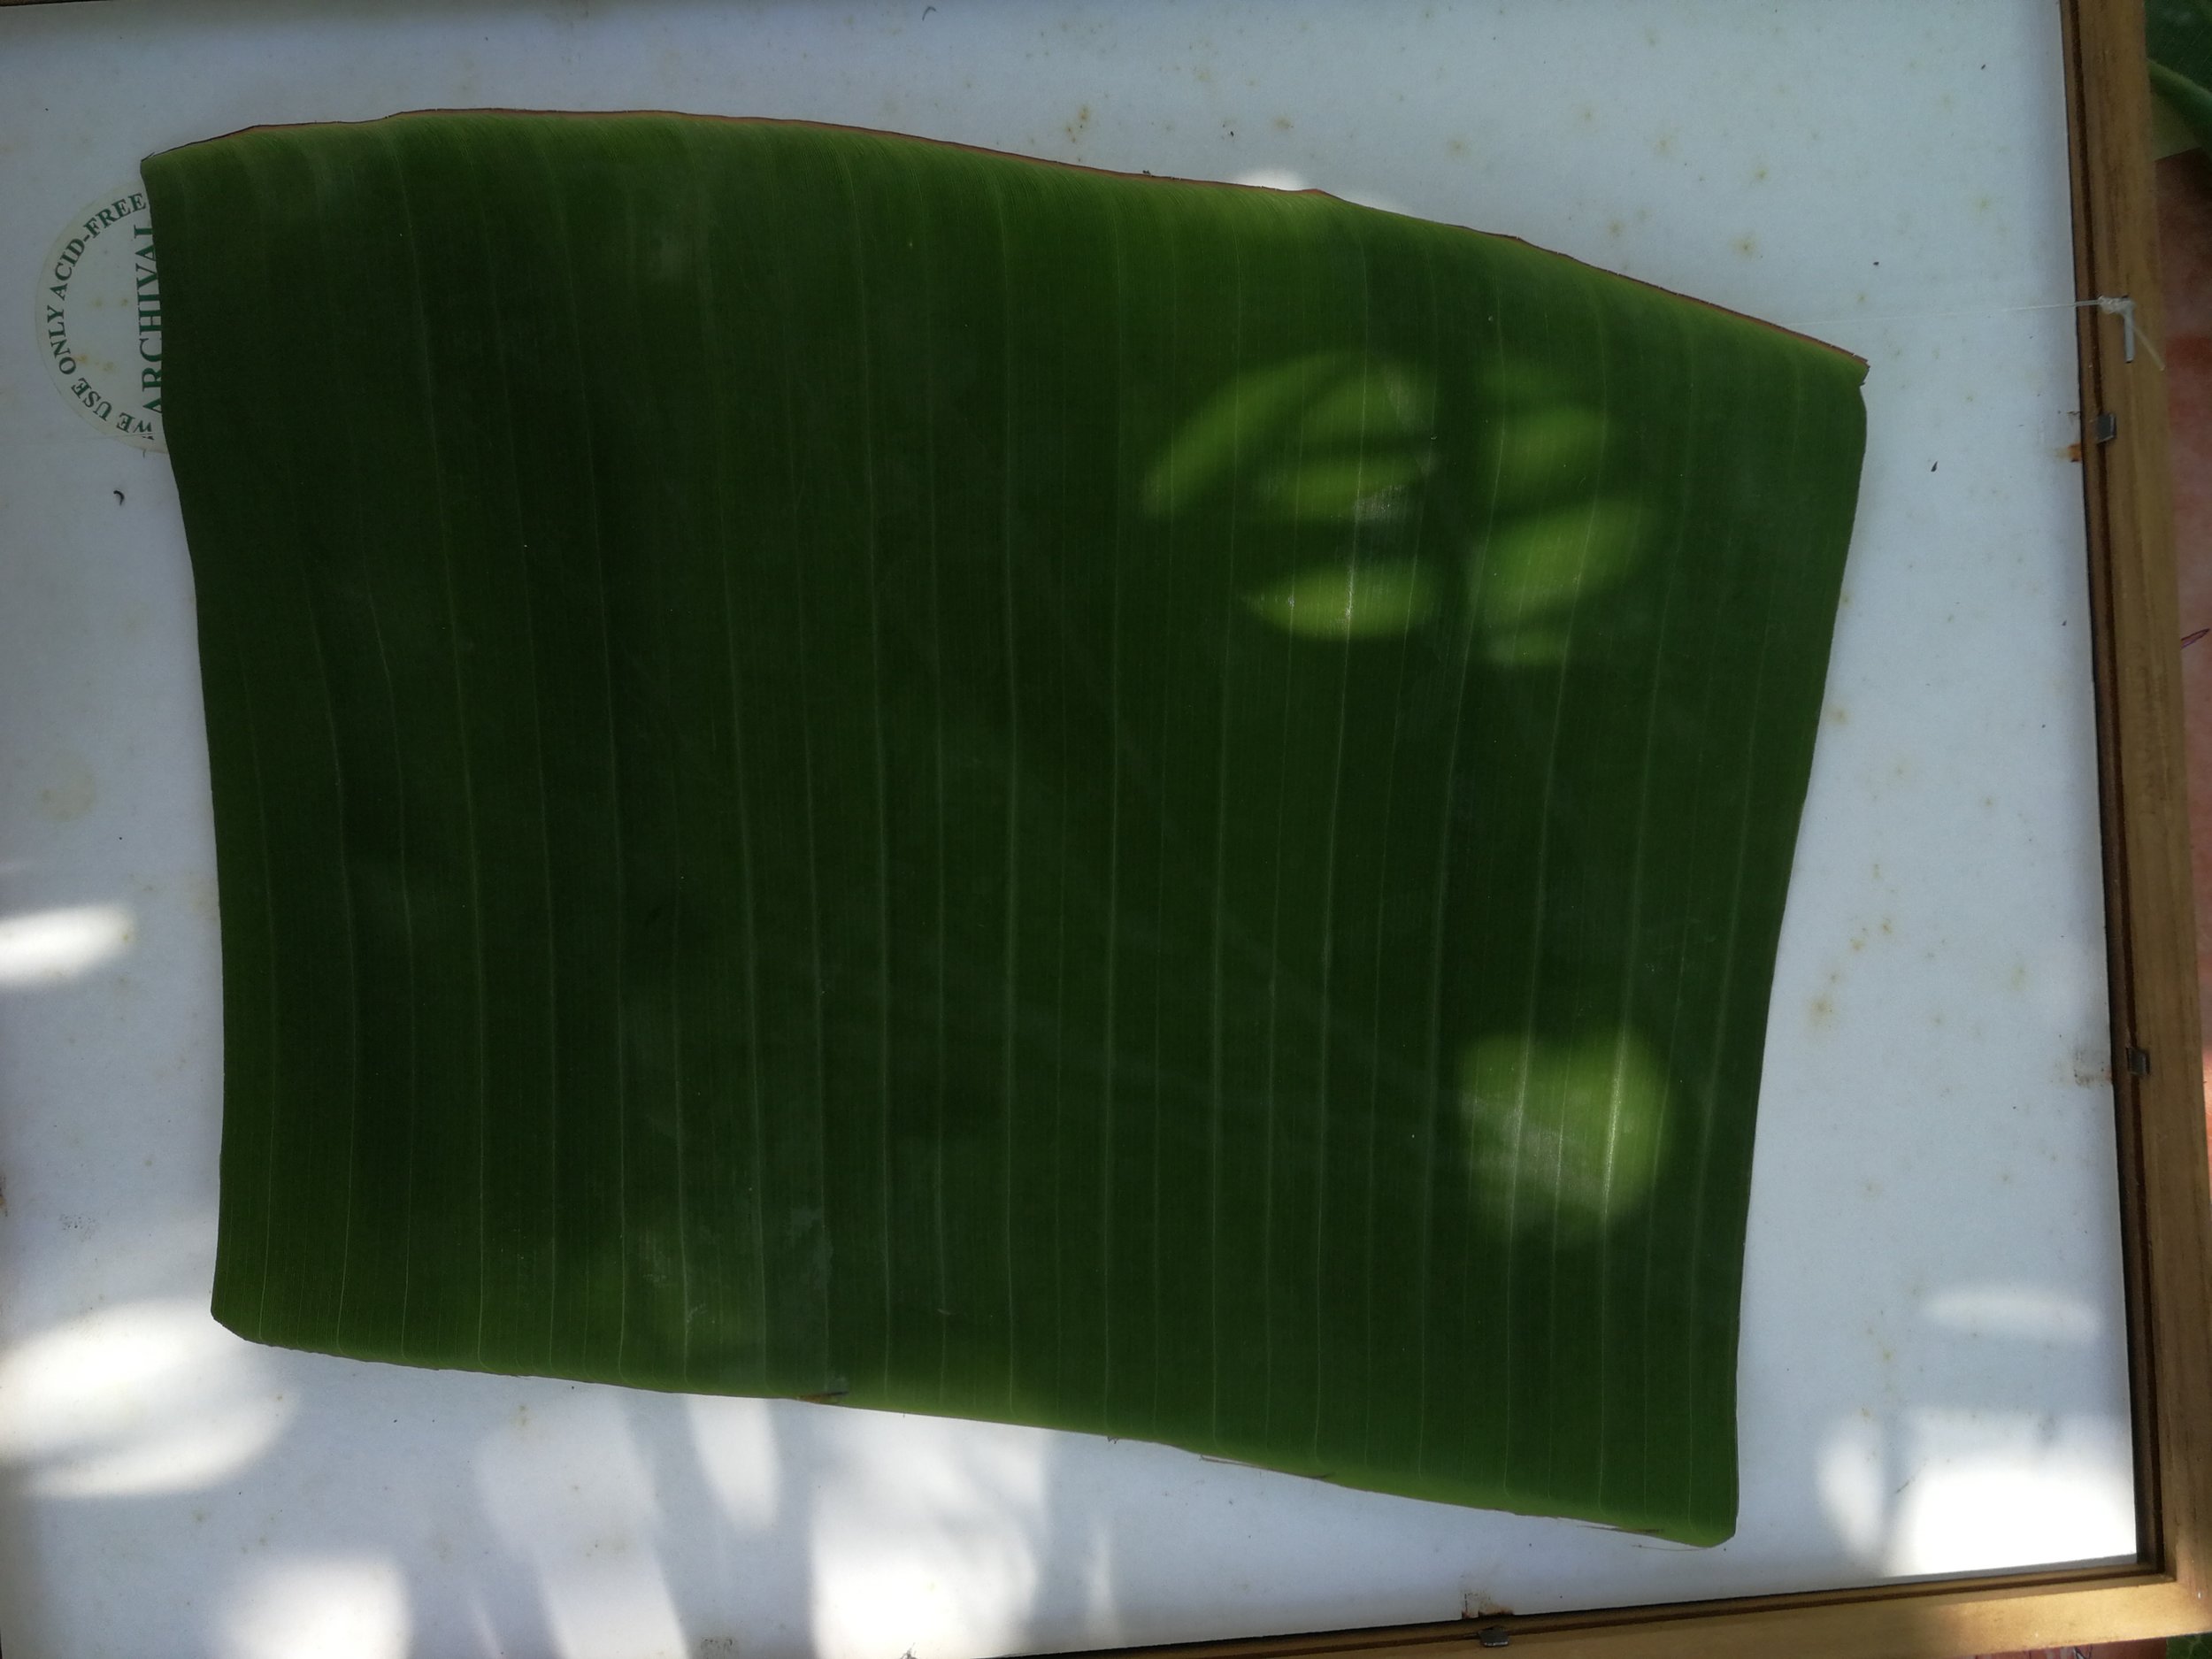
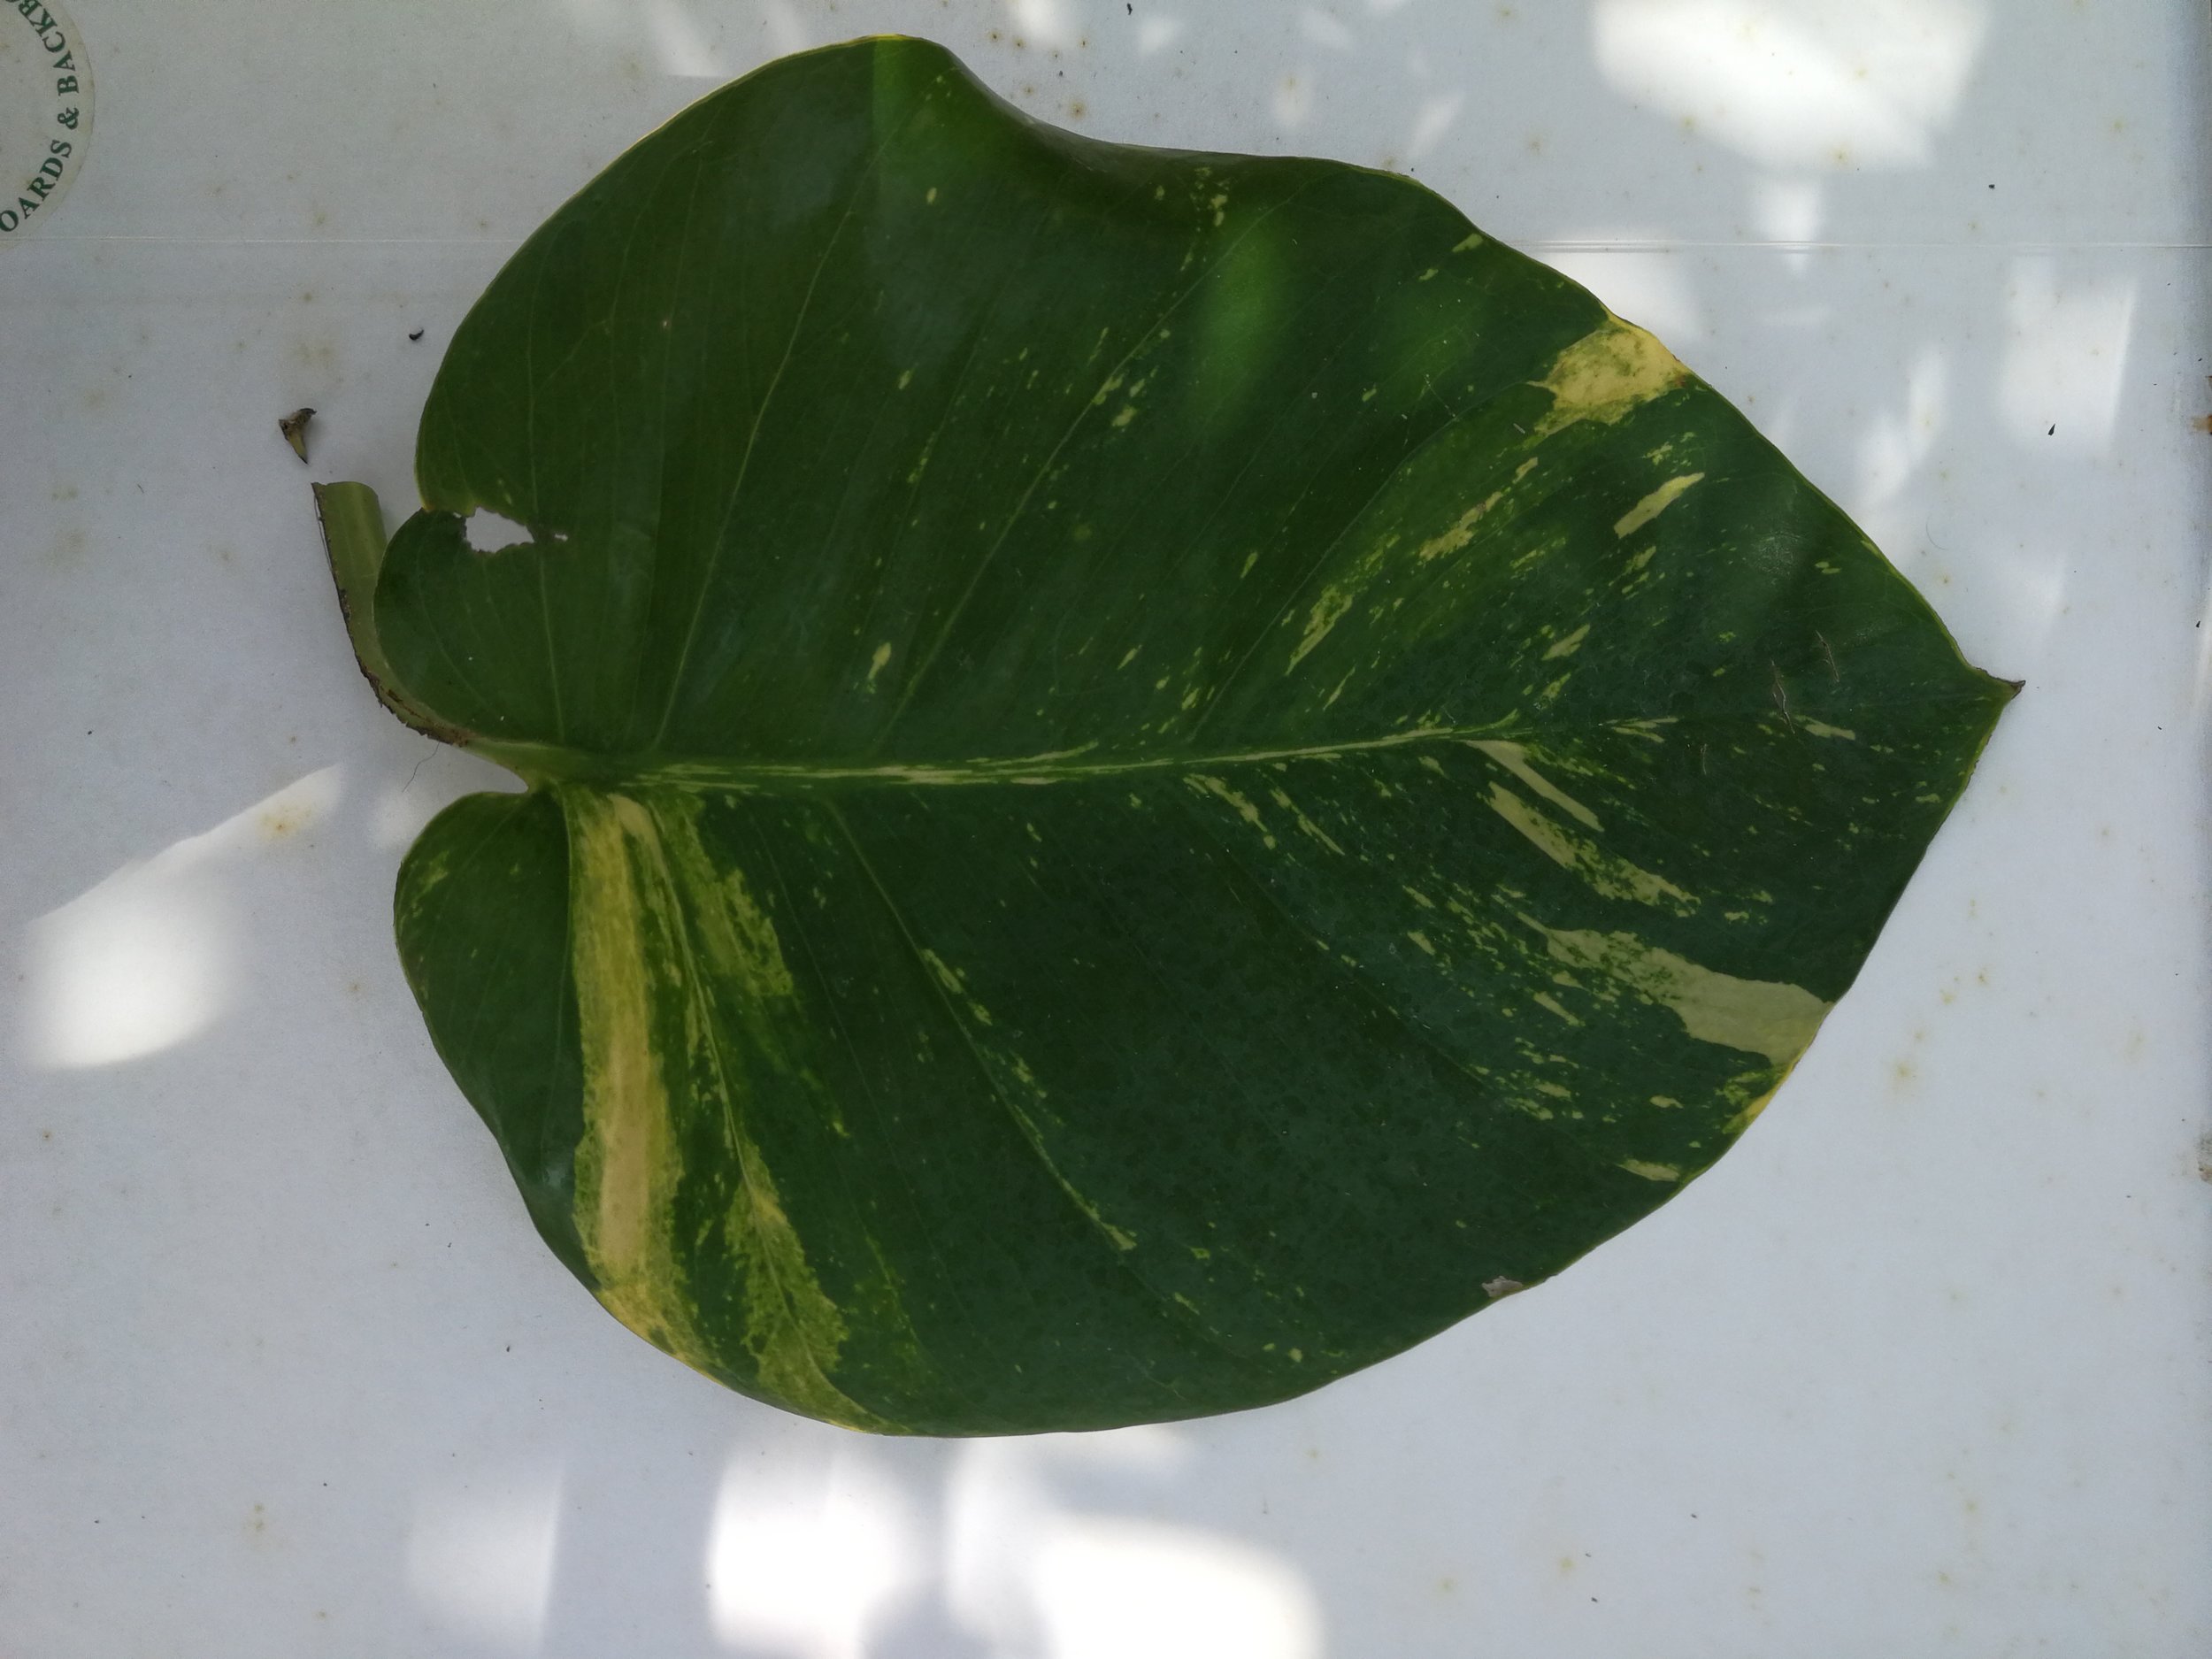
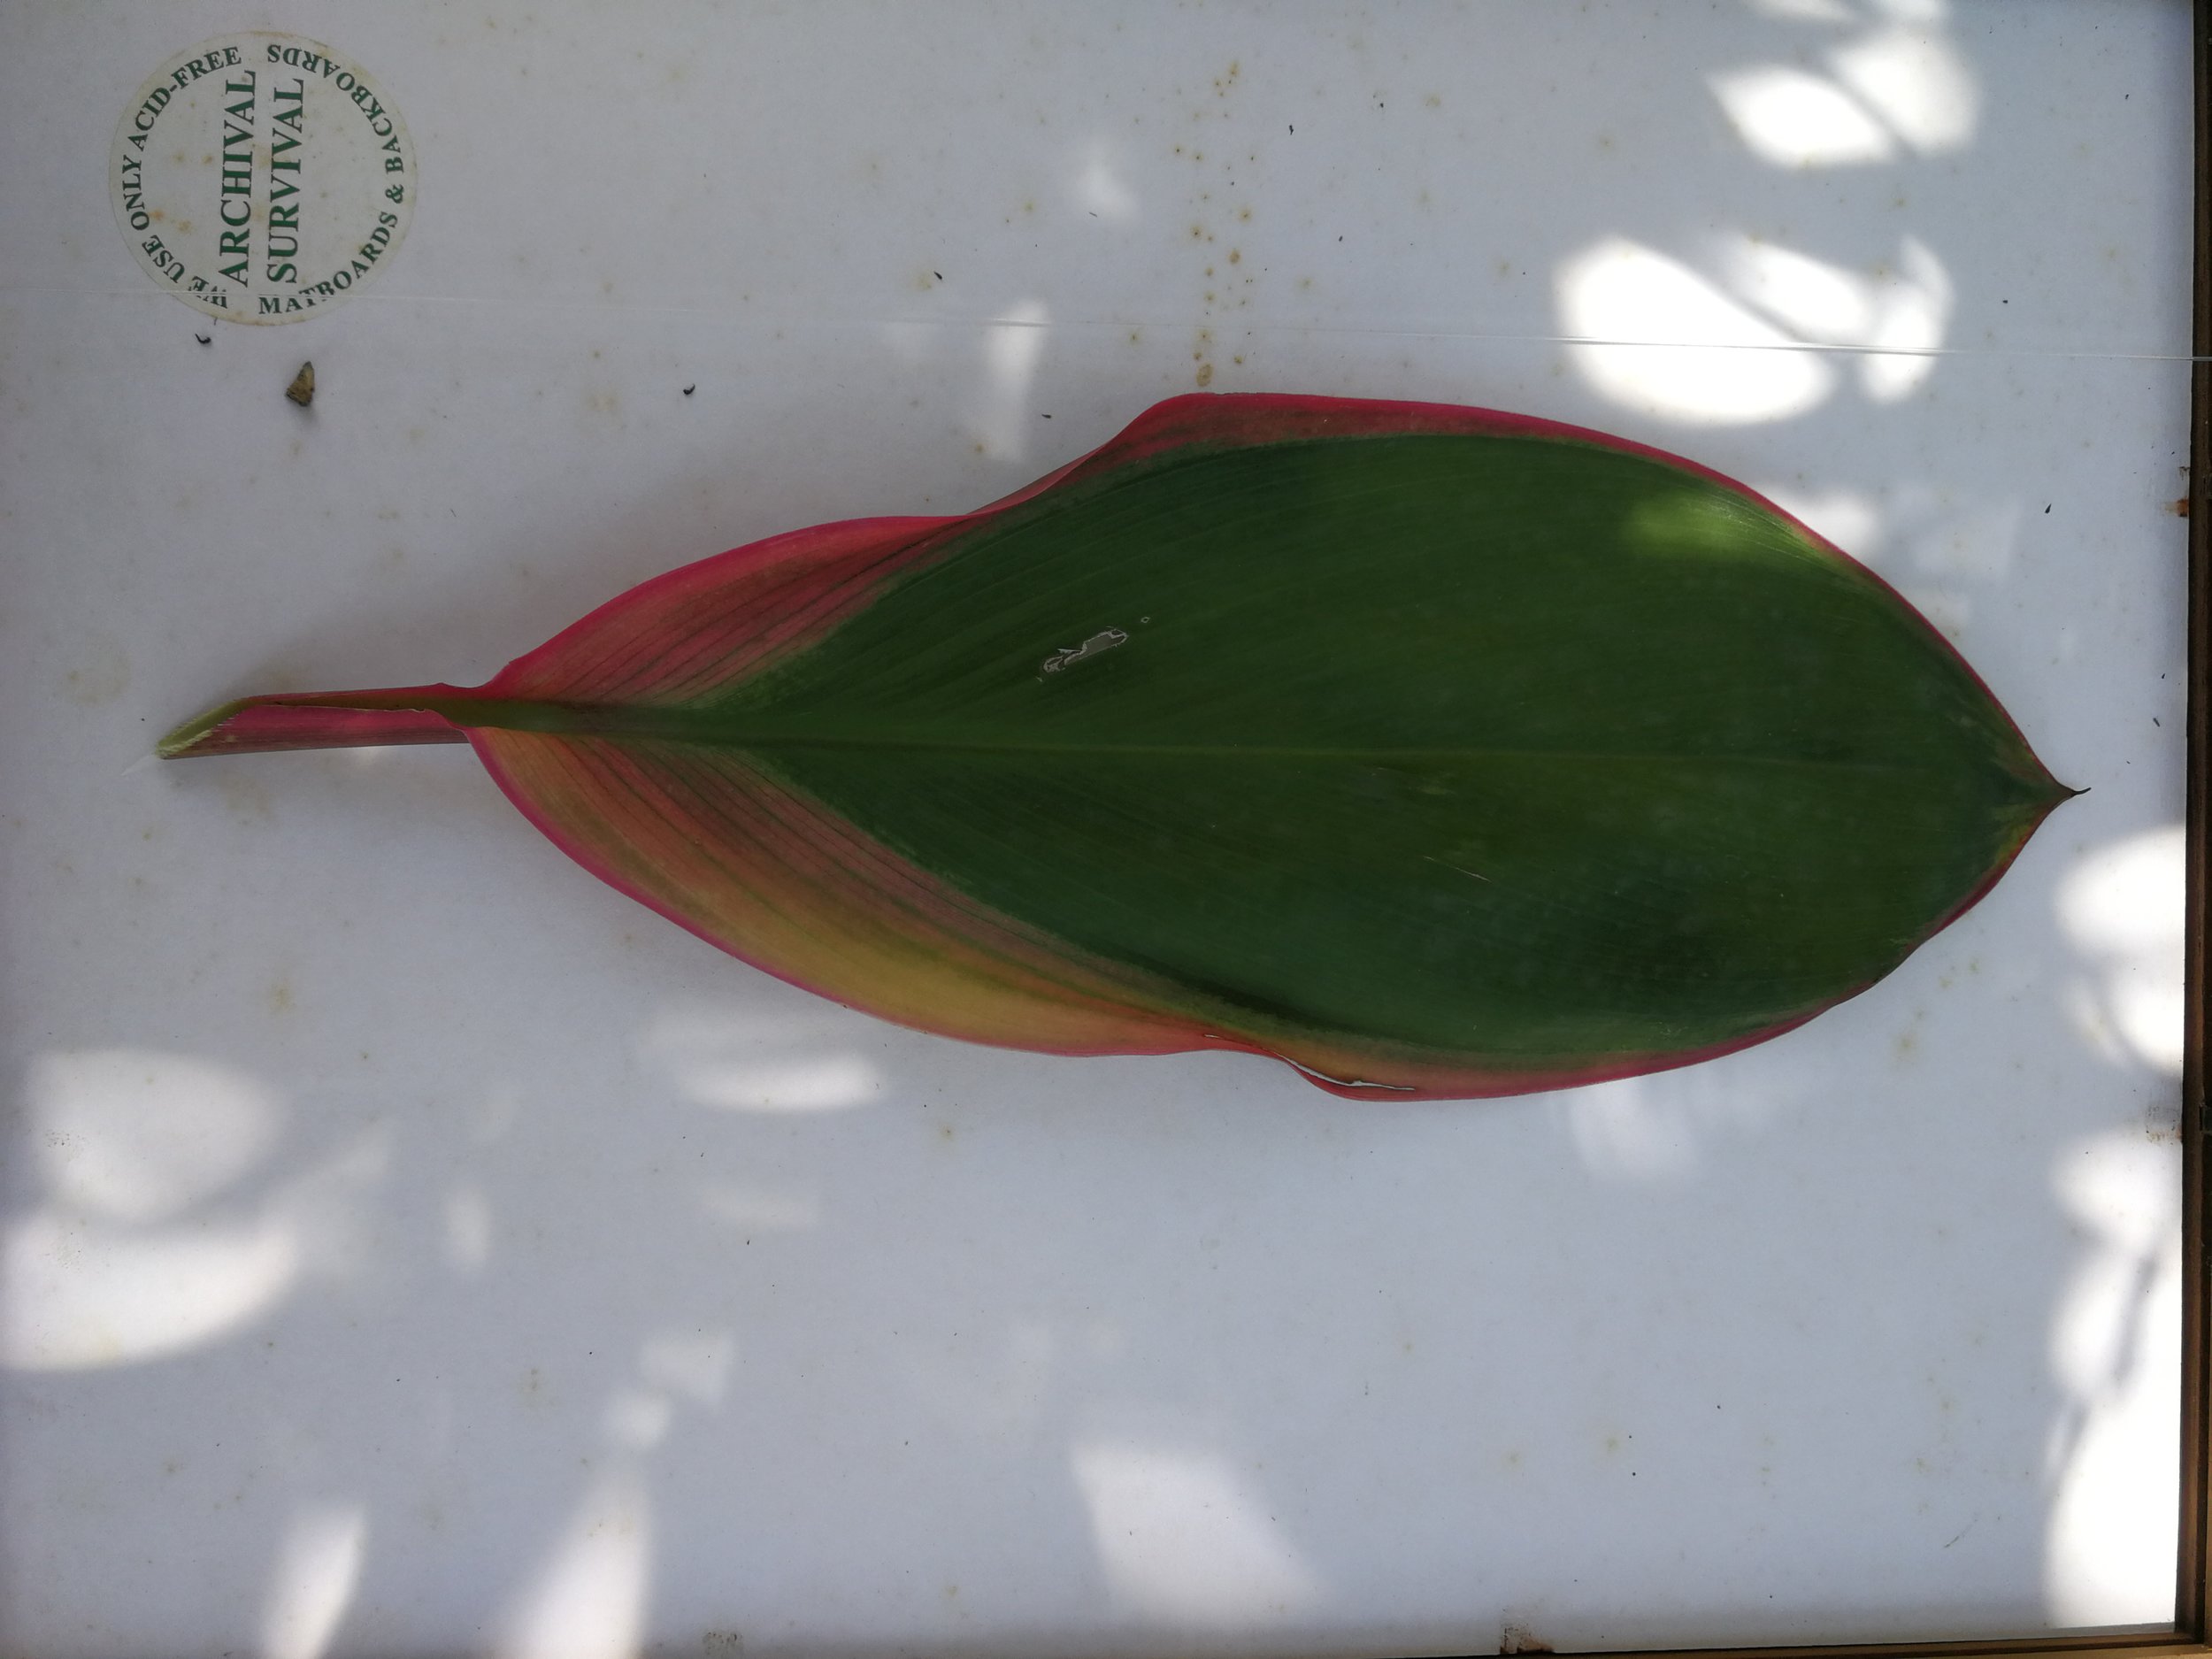
The morning ritual was to go around the garden to observe the leaves, choose the ones to try on, ask permission to mother earth to cut them, gently cut them, wash them and prepare the glass frame and positive images. The first day test was just a try and error, i tried about 12 leaves to see the potentials, (papaya, Strelitzia or called paradise birds, hibiscus, cactus, colacasia esculenta, banana, Morinda citrifolia (noni)……) to see which one works and did not work and also study the amount of light, the timings of the shades and the humidity.


Lesson from day 1 in the Caribbean: It is too hot and humid! So the ink on the acetate would melt and stick onto the leaves, even though I put 2 printed acetate. So we tried by adding an blank acetate sheet in between the leaf and the printed acetate, as suggested by my very clever brother in law, it worked! Problem one solved.
The Strelitzia leaf is really beautiful like a bird feather but dried out and broke really easily, especially as it has a big spine dividing the leaf in 2. Even though i gently cut part of the spine, it would not be flat.
Most of the others did not work, or because I did not let them exposed enough time under the sun, or because they were too thick or because they had light patters on it which would be seen in the final image.
The garden was full of trees and I needed to constantly move the prints so they stay under the sun. So next step: print on top of the roof top which . is sunny all day long.
Another issue in the Caribbean during hurricane season: it can rain anytime suddenly so I needed to be around and entre the prints if need be.
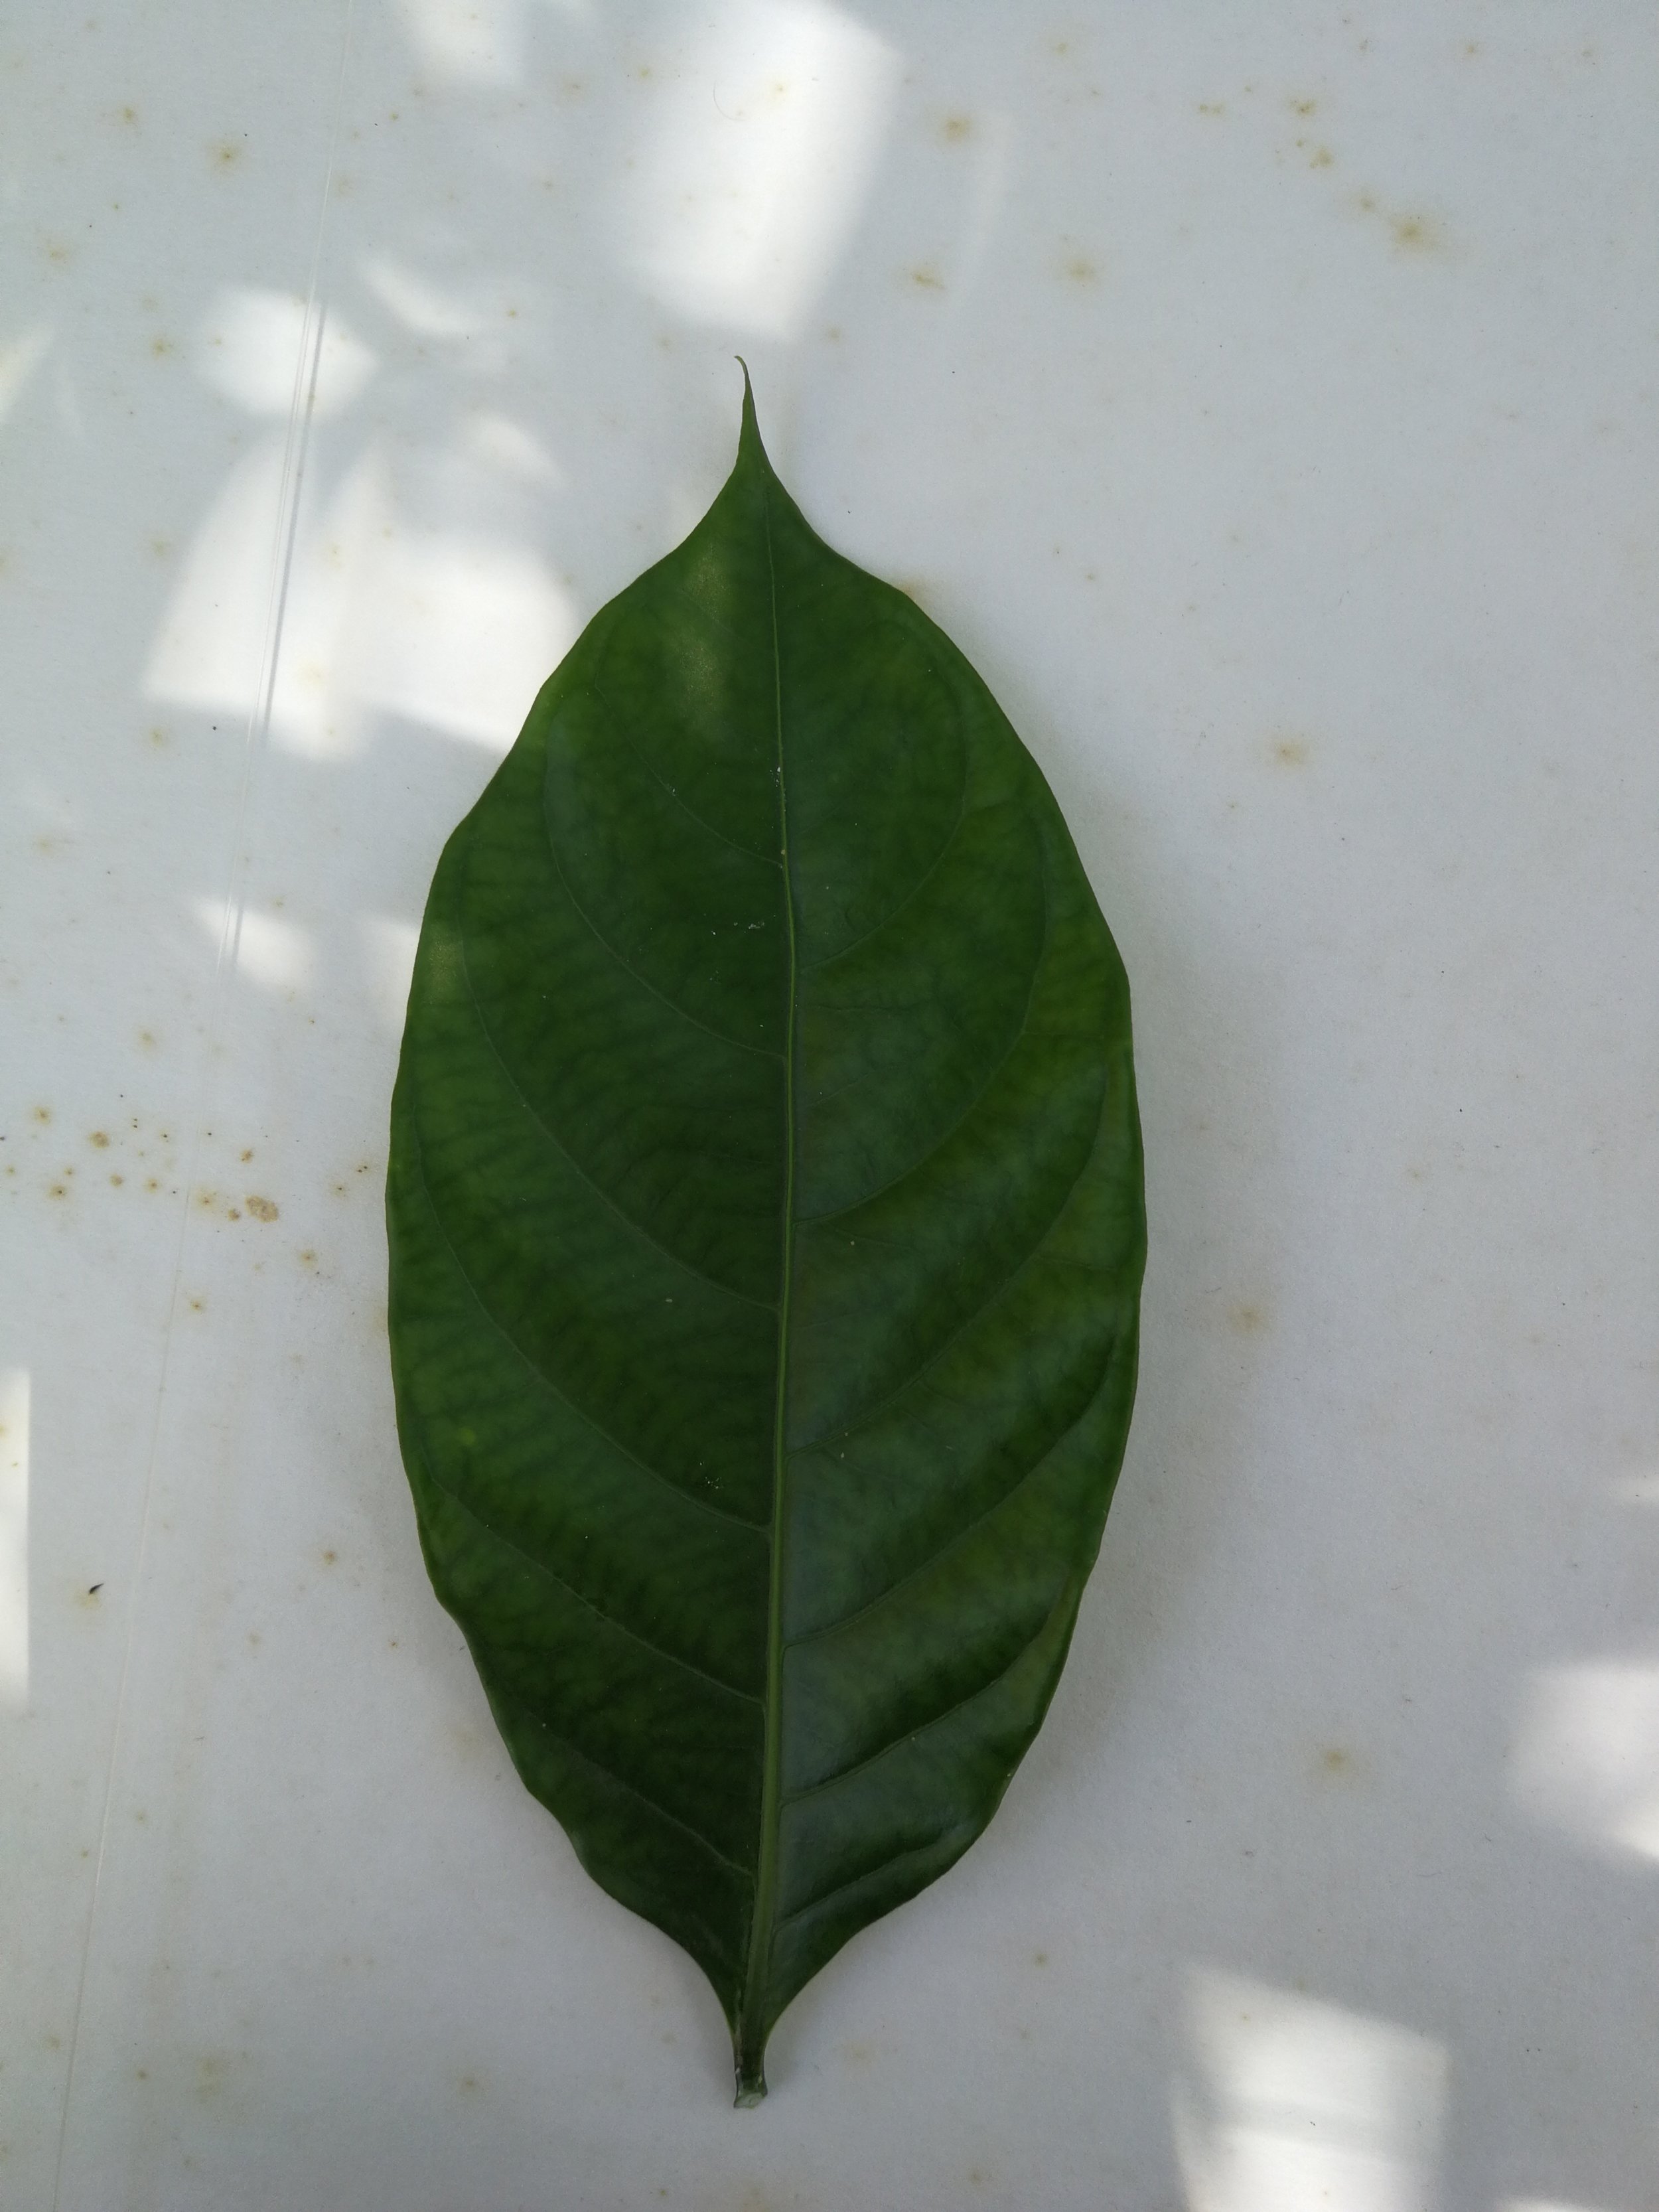
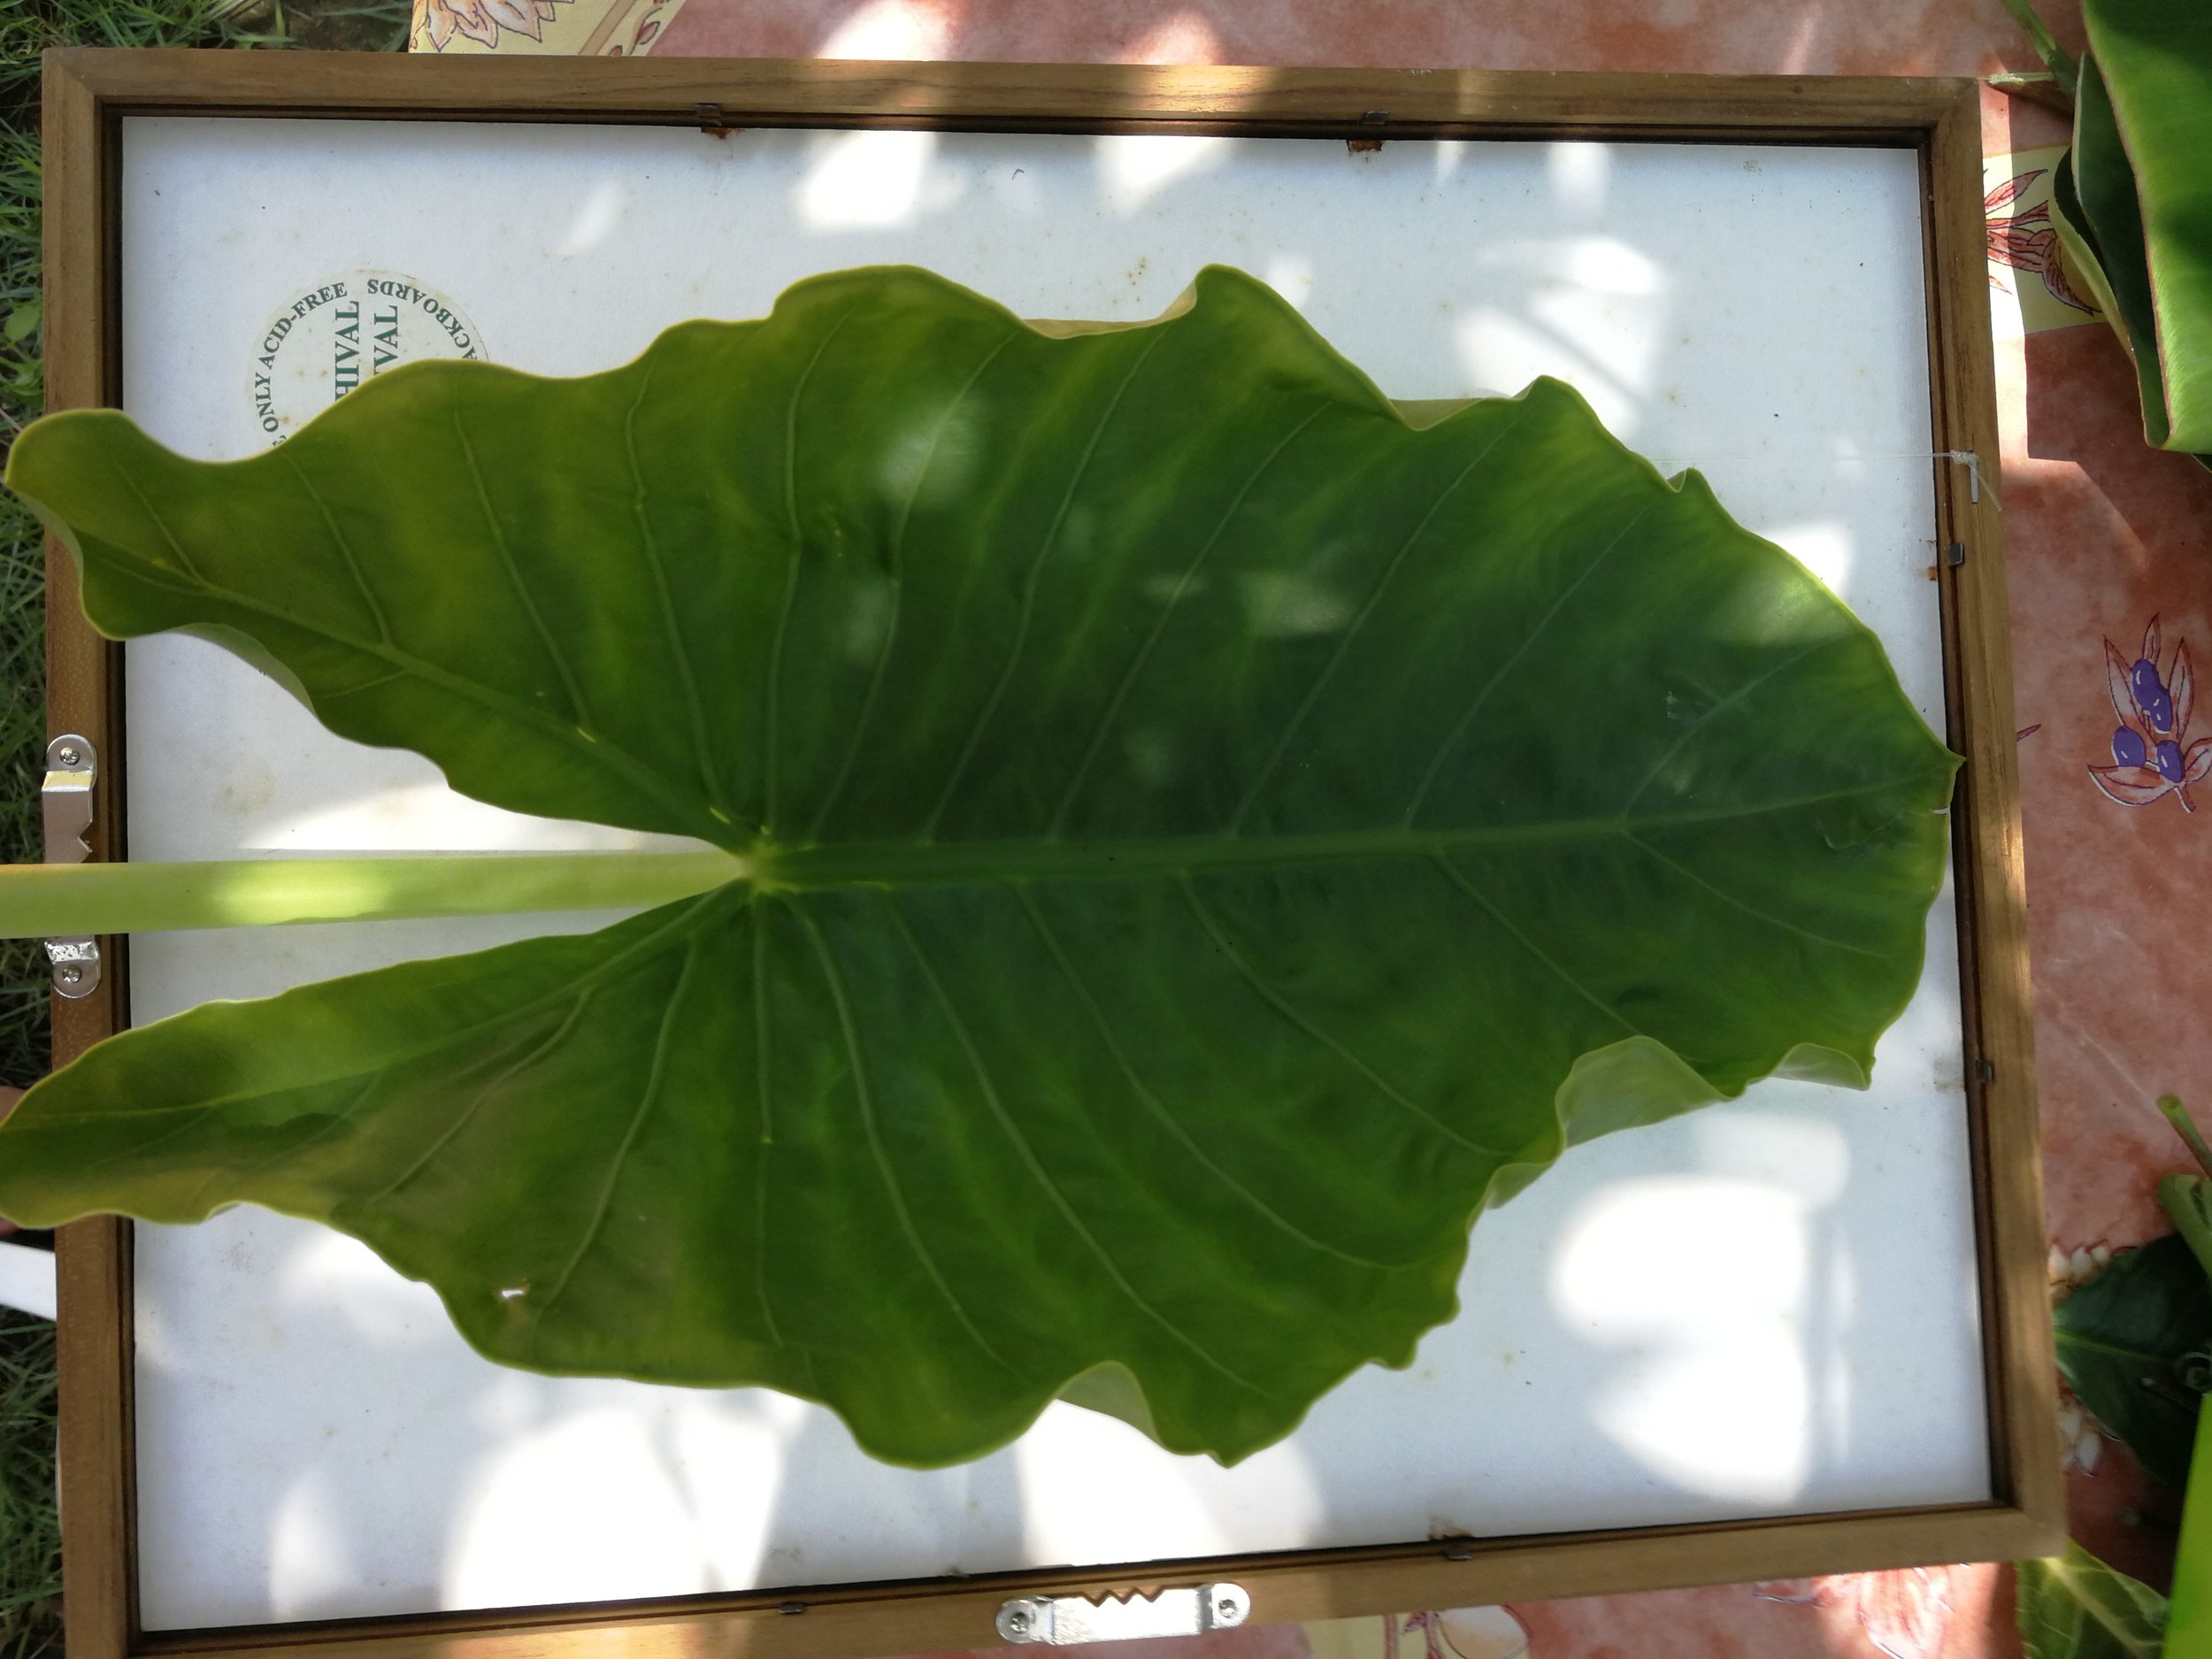
Colacasia: Beautiful print. It worked very easily in 3h from 7am until 10am but it is really thin and fragile and you need to take extreme care when handling it.
Colacasia leaf
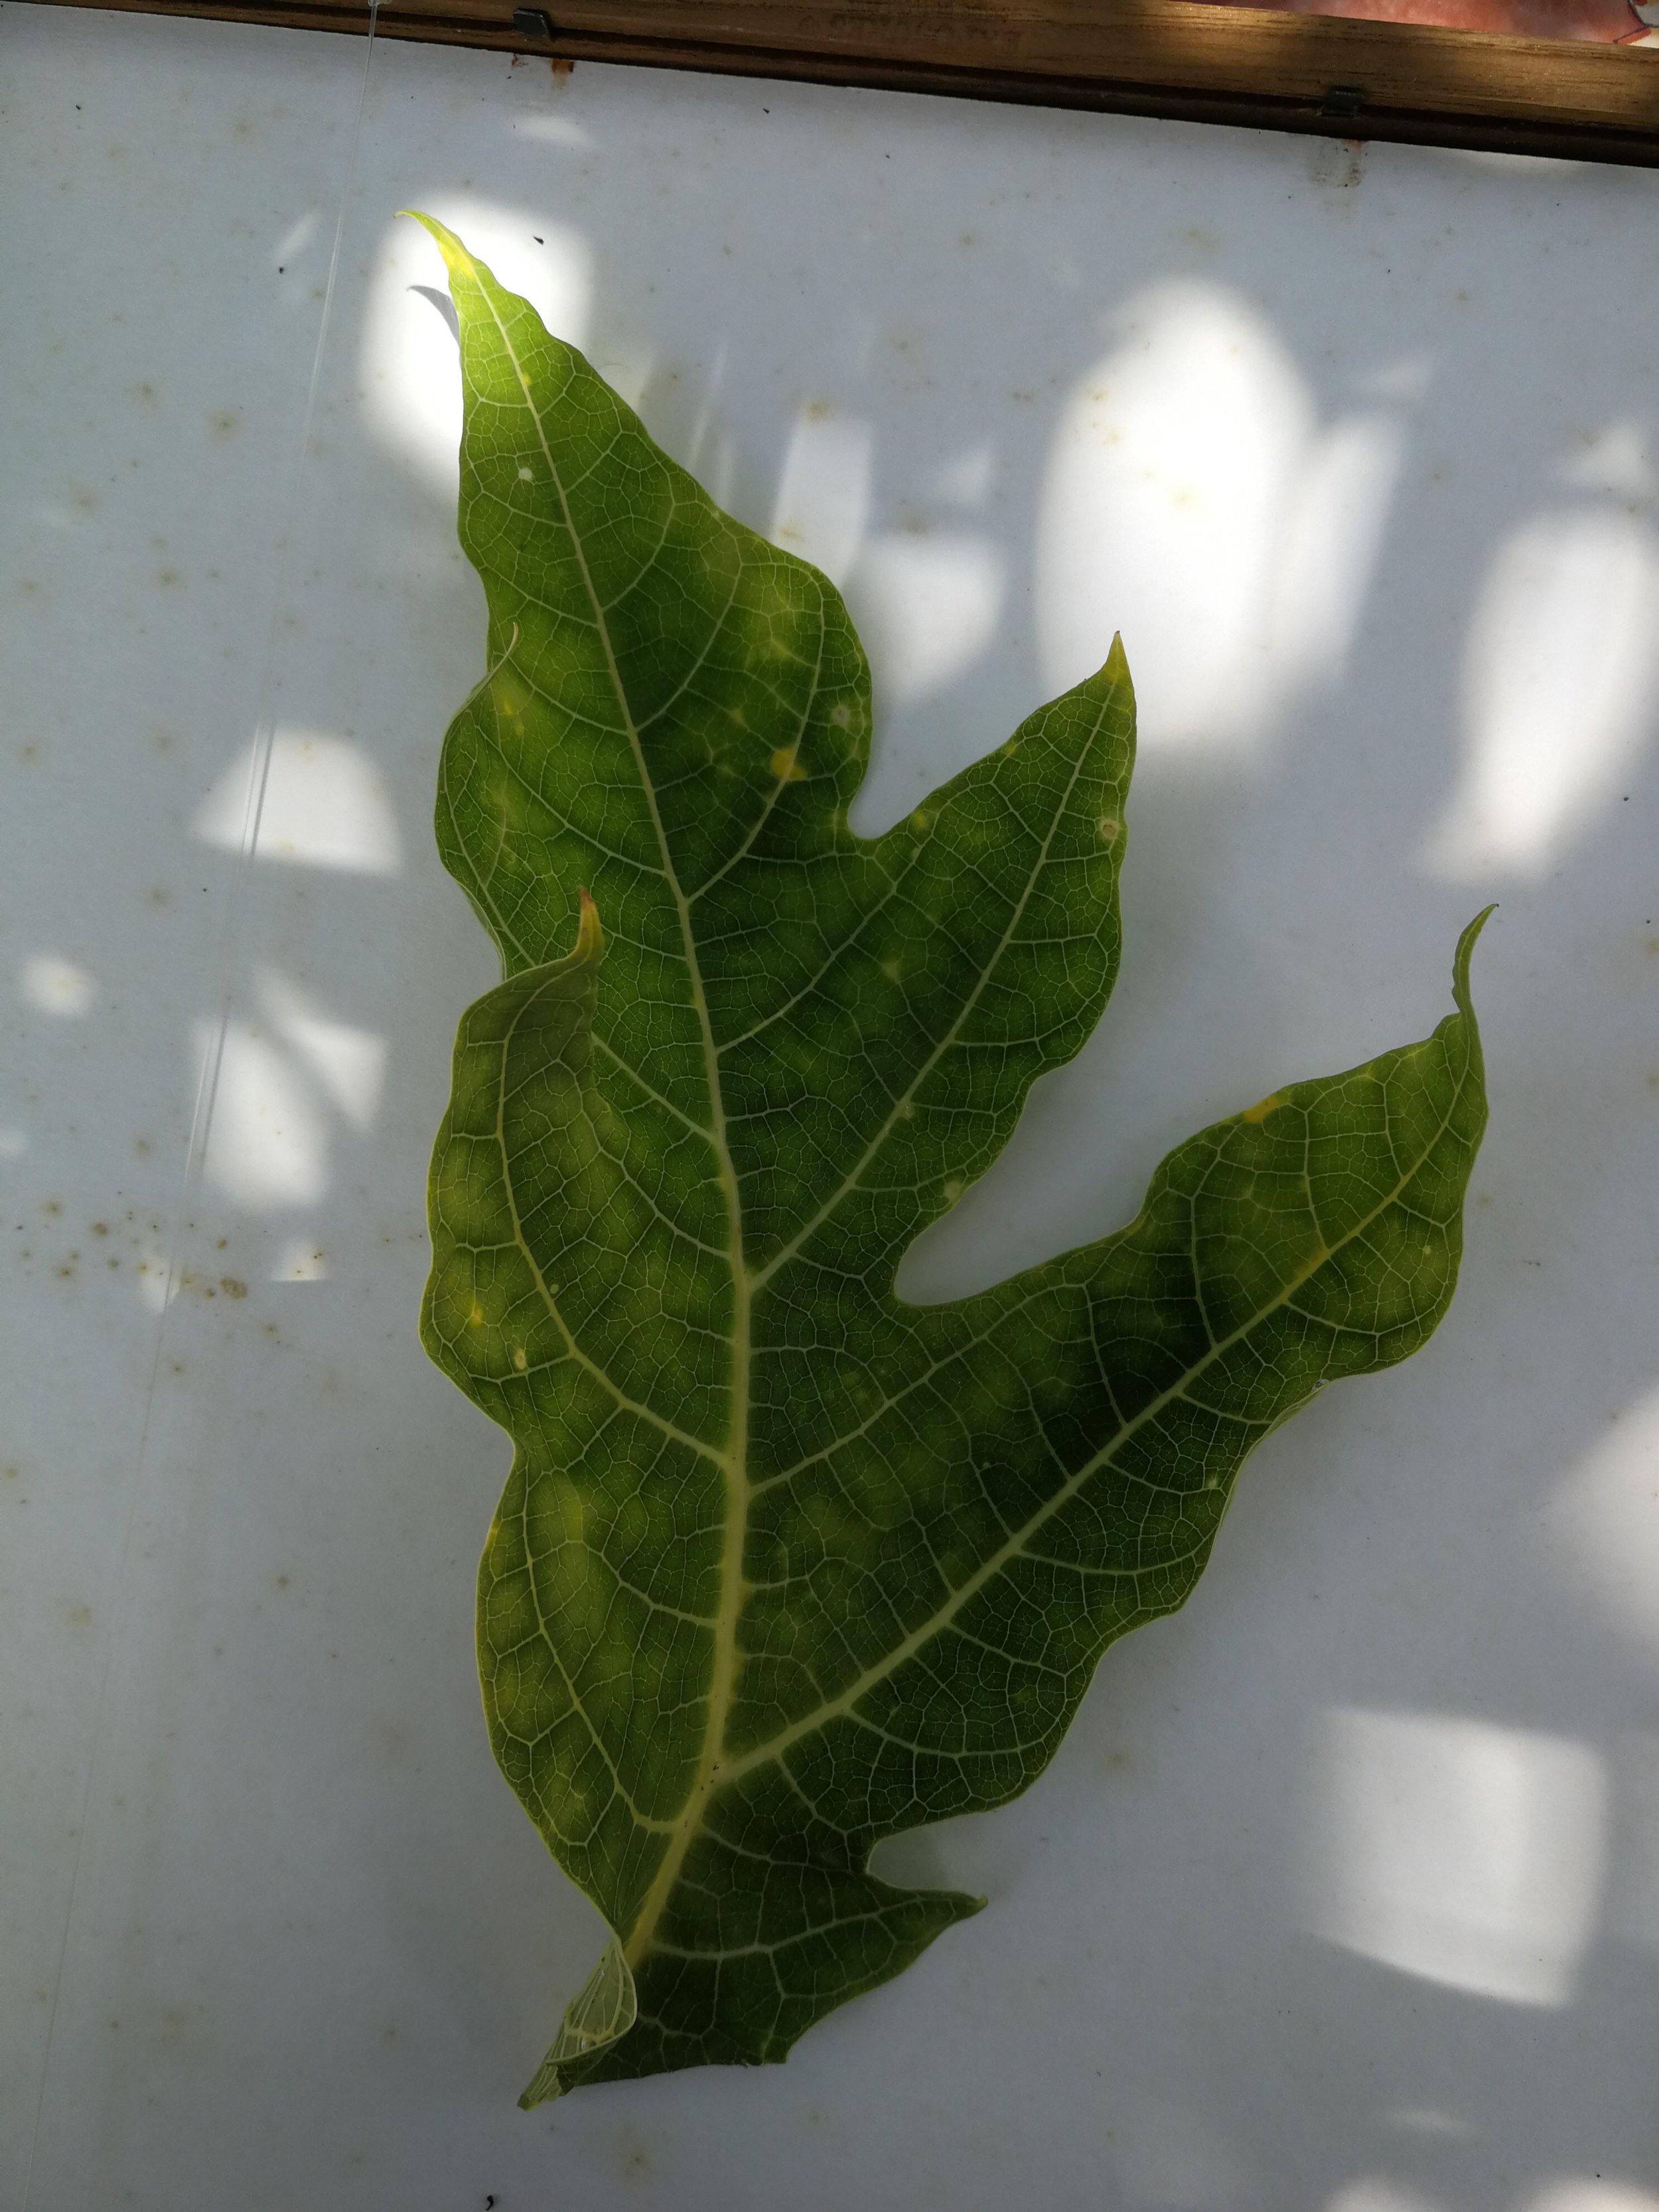
Morinda citrifolia (noni): beautiful and works but as it is textured and thick the image doe snot appear fully. I will definitely experiment more on this.

Morinda citrifolia (noni)
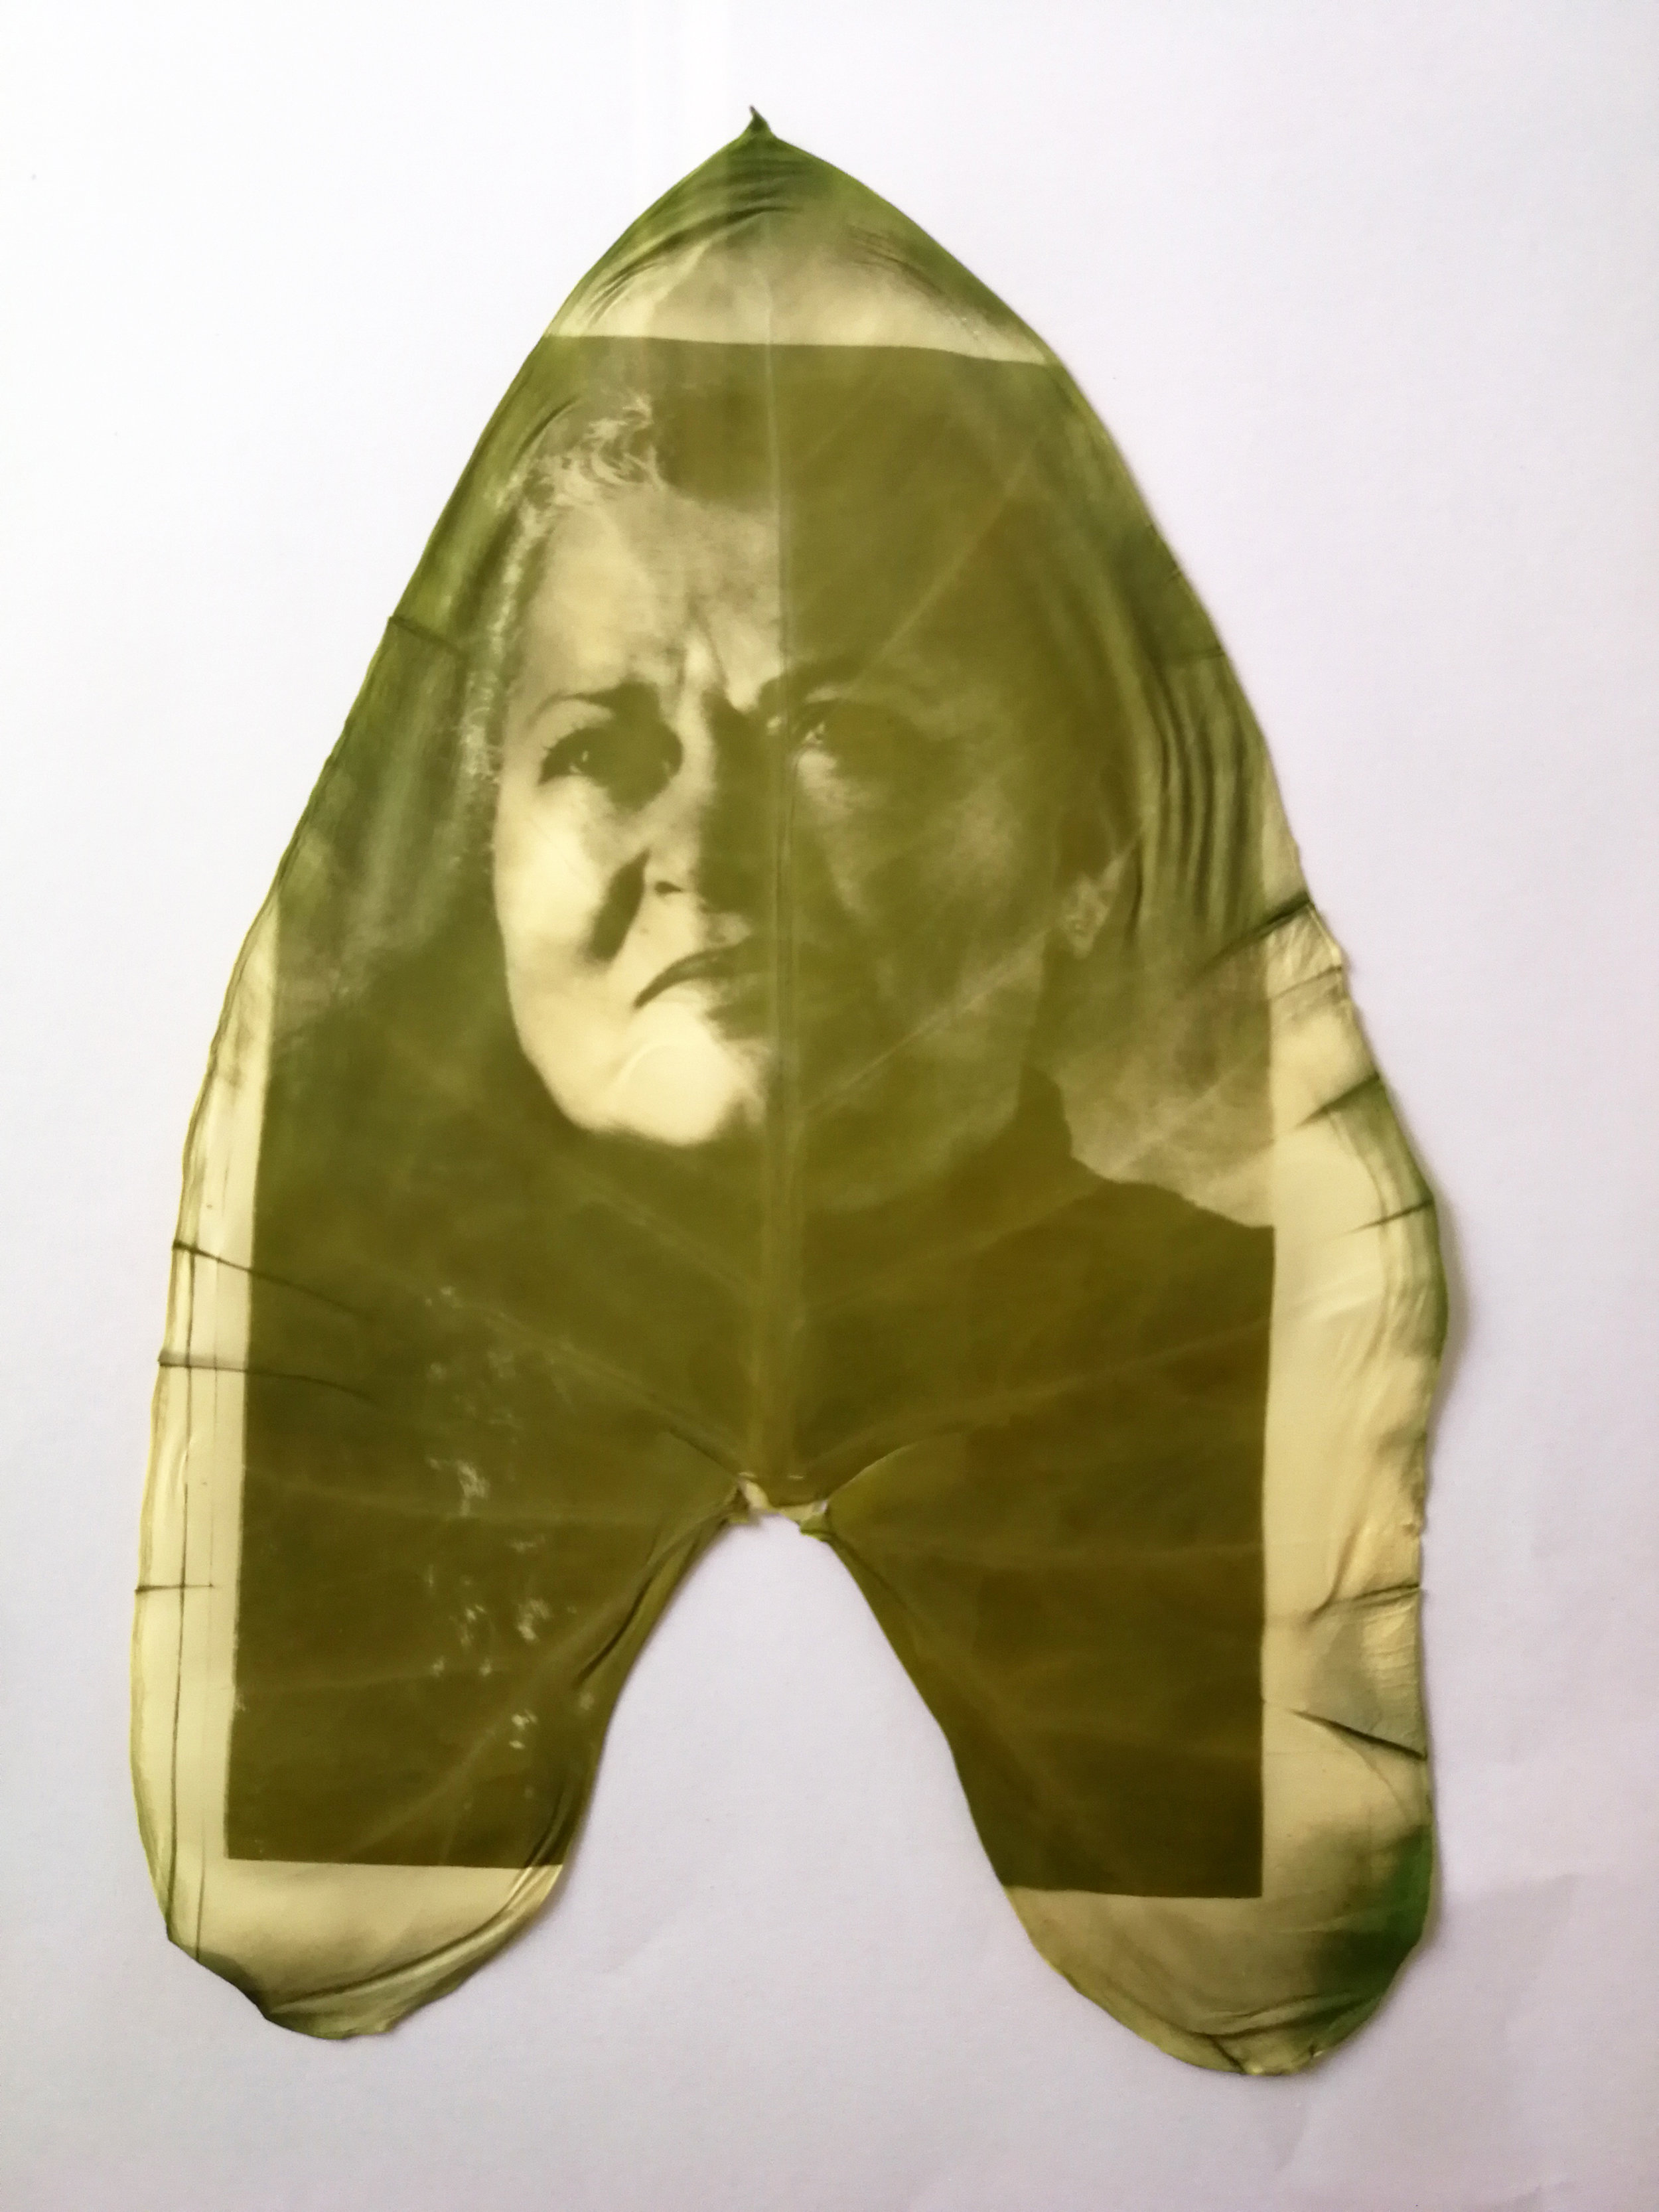
Hibiscus I could see the potential of this leaf and tried many times. It needed 2 days exposure. This is definitely my favourite leaf so far. I love the texture, the sharpness, the deep green colour

Fixing and washing: do not leave too long in the fixer or wash as the image will start to vanish or loose contrasts.
I finished those leave 5 minutes before leaving to the airport. As I did not have time to varnish them properly so seal them, I applied a baby cococut oil lotion on it, it moisturised them and kept them shiny, fed and moistered until I arrived back to London where I applied the Renaissance wax on it I tried with bee wax but it does not work as when it cools down, it hardens, I am looking into resin as Vietnamese photographer who introduced chlorophyll printing Binh Danh used but as it made of petrol, I would prefer to use a natural fixer….exploring banana wax from Brazil.
More to follow as soon I find an artist residency to go back to the Dominican Republic to explore more leaves, more chemistry, more natural resin with my collaborator Antonio Amador.
A little of explanations
“We can understand how light bleaches an object at the atomic level. Pigments can be bleached by the colors of its compliment. When light hits an atom, electrons absorb energy of specific wavelengths exciting them to a higher energy state. The atoms quickly fall back down to the previous state, emitting a photon of light equal to that being absorbed, resulting in the observed color we see.
Bleaching occurs when a photon has enough energy to completely free an electron form its atom, becoming an ion with a net positive charge. Higher light intensity equals a higher concentration of ions, resulting in a surface which has the ability to react with the oxygen in the air. This reaction causes the bleaching of the surface.” (Source: http://www.alternativephotography.com/the-chlorophyll-process/)
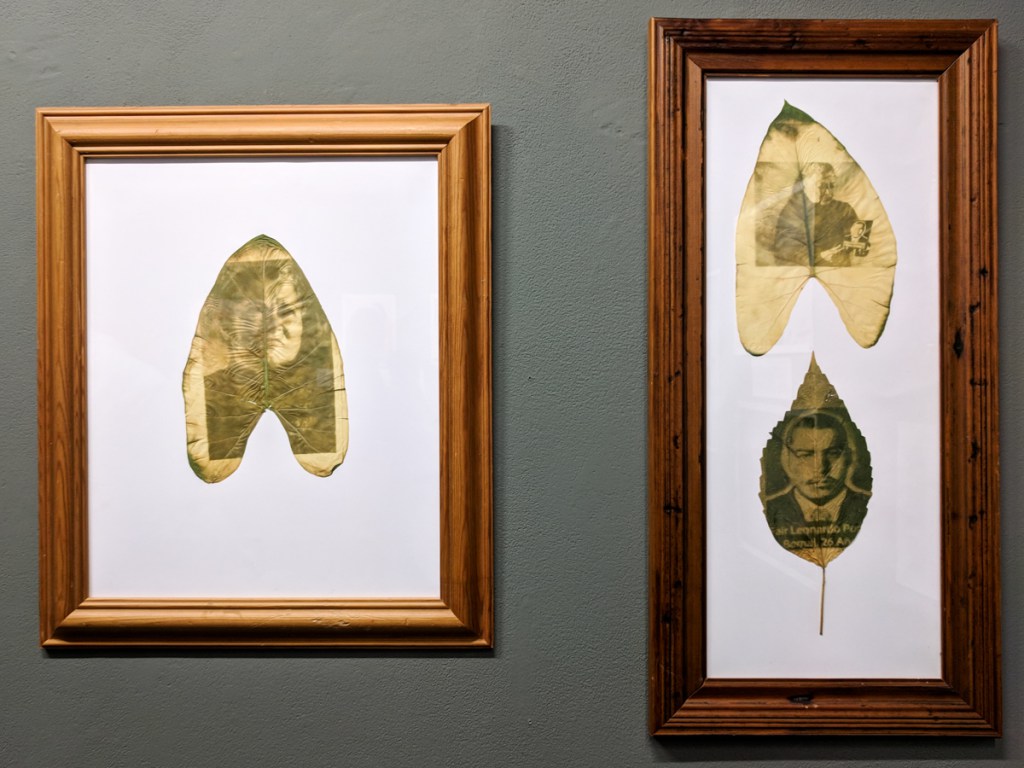
Final results exhibited at Belfast Exposed in Northern Ireland, Sept 2018